2 Easy Crochet Christmas Ornaments (Star & Snowflake)
A puff-stitch star and a simple snowflake motif — small, fast, and perfect for using up leftover yarn before the holidays.
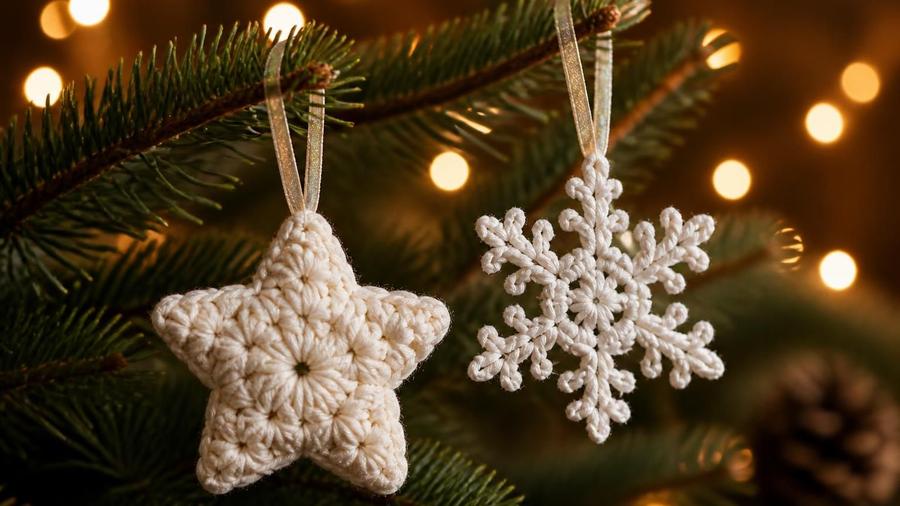
In my classes, the week before Christmas is when I break out the tiny hooks and leftover yarn, because crochet Christmas ornaments are the fastest way to watch a beginner's confidence lift. I remember one student who spent a whole term convinced she was too slow to make anything worth keeping — then produced a puff-stitch star in a single lunch break, starting from nothing but a magic ring. She hung it from her bag for the rest of the season, checking it now and then as if to remind herself she'd actually made it. That's the magic of these little ornaments: small enough to finish quickly, detailed enough to feel like real accomplishment, and perfect for using up every odd scrap of yarn.
I still keep a shoebox of the first stars I ever made, a little dustier each year but still holding their points, and every December I add one more. There's something about watching a floppy scrap of yarn turn rigid and crisp overnight that feels like magic in the middle of a holiday rush. These two ornaments are deliberately simple — a puff-stitch star and a picot snowflake — because at this time of year most of us need a project that fits into a lunch break, not one that eats a whole weekend.
What you need
- Small amounts of worsted or DK weight yarn (white, cream, or metallic blends look festive)
- 3.5–4.0mm hook
- Yarn needle
- Ribbon or thread for hanging loops
- Optional: fabric stiffener or diluted white craft glue
Ornament 1: puff-stitch star
Steps
- Make a magic ring and chain 3 (counts as the first stitch).
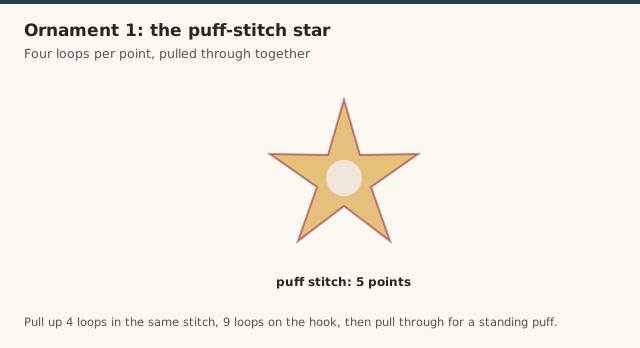
- Work a puff stitch (yarn over, insert hook into the ring, pull up a loop — repeat 4 times in total, then pull through all 9 loops on the hook) into the ring, then chain 1.
- Repeat the puff stitch + chain 1 four more times into the ring, for 5 points total, then join with a slip stitch to the top of the first chain-3.
- Pull the starting tail to close the center ring tightly.
- Optional second round for thicker points: in each chain-1 space, work (slip stitch, chain 2, puff stitch, chain 2, slip stitch), then fasten off.
Ornament 2: simple snowflake
Steps
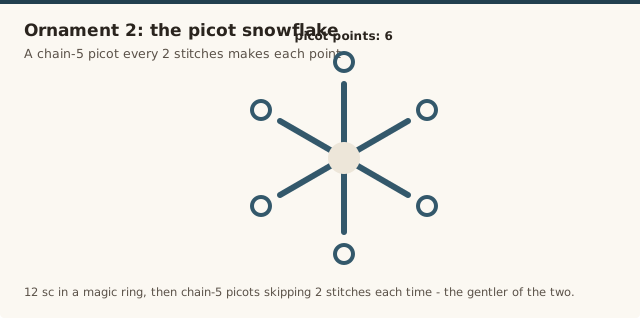
- Make a magic ring and work 12 sc into it, then join with a slip stitch. (12 sts)
- Chain 5, slip stitch back into the same stitch to form a small picot loop, then slip stitch into the next 2 stitches of the round.
- Repeat the chain-5-picot-and-slip-stitch-2 pattern around for 6 points total.
- Fasten off and weave in ends.
Stiffening and hanging
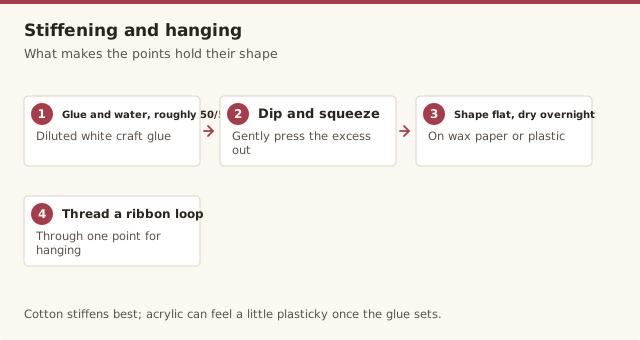
Mix roughly equal parts white craft glue and water, dip each ornament, gently squeeze out the excess, and shape flat on wax paper or a plastic surface to dry overnight. Once dry, thread a small loop of ribbon or thread through one point for hanging.
A demonstration of crocheting snowflake and star ornaments, useful for seeing the stitch-by-stitch technique for each shape.
Yarn and finish for a sparkly look
Cotton gives the crispest, most durable ornaments because it stiffens beautifully and keeps its points; acrylic works but can feel a little plasticky once the glue sets. For shine, a metallic-blend thread, or a strand of sparkle carried alongside your working yarn, adds the holiday gleam without changing the stitch count — just work the two strands together as one. White, cream, and a soft silver read as snowy, while a deep red star against a white tree is the classic look I keep coming back to. Keep the yarn a lighter weight than you'd use for a wearable; DK or sport gives a finer, more delicate ornament that stiffens to a crisper finish than chunky worsted. The yarn weight explained guide helps if you're swapping yarns.
Turning them into a garland
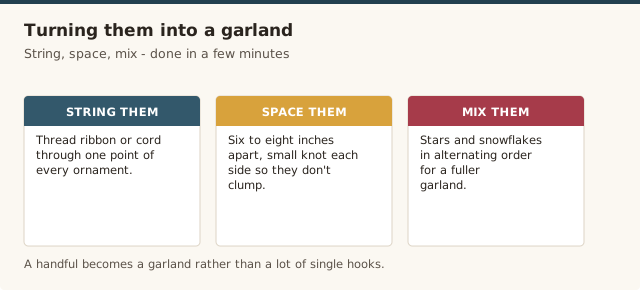
If you make more than a handful, string them into a garland rather than hanging each one alone. Thread a length of thin ribbon or cotton cord through one point of every ornament, spacing them six to eight inches apart with a small knot on each side so they don't slide into a clump. Mix the stars and snowflakes in alternating colours, and work in a few plain wooden beads between them to let each crocheted piece breathe. Because they're stiffened, they hang without tangling the way a soft ornament would, and the whole thing packs flat into a box for next year. A garland of twenty or so pieces, made a few a night through late November, is a genuinely achievable way to decorate a mantel you made almost entirely yourself.
Puff stitch vs picot: which to start with
If you're new to both techniques, start with the snowflake. Its twelve single crochet into a magic ring and a series of chain-five picot points are the gentler introduction — no counting loops on the hook, just a tidy repeating rhythm. The star's puff stitch asks you to pull up four loops in the same stitch and close them together with nine loops on the hook, which feels fiddly until you've done it twice and then suddenly makes sense. Work the snowflake first to warm up, then try the star, and you'll have both skills by the end of an afternoon. Whichever you pick, the shapes share the same magic-ring start, so once that first step is comfortable the rest is just following your hands. A refresher on the ring is in our magic ring tutorial, and the puff stitch is covered in basic crochet stitches.
Common mistakes & fixes
Fix: you haven't pulled up enough loops. Work four loops in the same stitch (nine loops total on the hook) before pulling through, and keep the loops a uniform height so the puff stands up evenly.
Fix: it was skipped or under-stiffened. Dip it in a roughly equal-parts glue-and-water mix, squeeze out the excess, and pin the points open to dry overnight rather than air-drying loose.
Fix: the magic ring wasn't pulled fully closed, or the puffs were worked at different heights. Close the centre tightly first, and aim for matching loop heights on every puff so the five points come out even.
Fix: it wasn't pinned flat while stiffening. Shape it on wax paper and pin each point open before it dries — once the glue sets in a curled position, it's hard to flatten without re-wetting it.
Fix: too much glue, or it wasn't diluted enough. Use roughly equal parts glue and water, squeeze out the excess thoroughly, and if a piece is already cloudy, wipe it gently with a barely damp cloth while it's still fresh.
Fix: it was attached through a single loose stitch. Thread the ribbon or thread through two or three stitches of one point and tie it securely before stiffening, so the loop is anchored in the hardened fabric.
Frequently asked questions
Do I have to stiffen them?
No, but unstiffened ornaments will droop and lose their shape over time — stiffening is optional but recommended for anything hung on a tree.
What's a puff stitch?
A cluster made by pulling up several loops in the same stitch before closing them together, creating a raised, rounded texture — explained step by step above.
Can these be made bigger?
Yes — add an extra round of chain-space stitches around either ornament before fastening off, for a larger finished size.
How long do the ornaments take to dry after stiffening?
Leave them on wax paper or a plastic surface overnight; thinner ornaments can dry in a few hours, but overnight guarantees they'll hold their shape when hung.
Can I use these as gift toppers or garlands?
Yes — thread a longer loop through one point to tie onto a gift, or string several along a chain for a festive garland.
How do I store them so they last for next year?
Layer the stiffened ornaments flat between sheets of tissue paper in a shallow box, so the points don't get bent or creased under weight. Kept dry and out of direct sun, they'll hold their shape and colour for several seasons.
CrochetGuides is a participant in the Amazon Services LLC Associates Program. As an Amazon Associate we earn from qualifying purchases, at no extra cost to you.