How to Crochet in the Round: Joined vs Spiral Rounds Explained
The two ways every circular or tube-shaped project is built — and how to know which one your pattern wants.
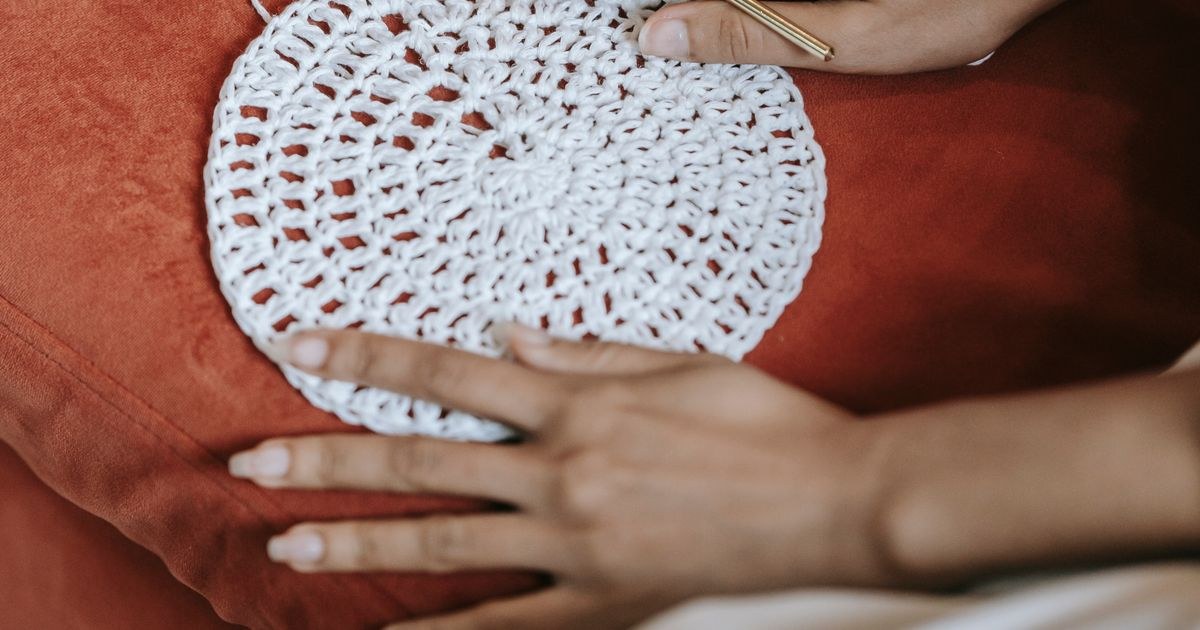
In my first year of teaching, a student turned up with a lopsided hat that had a neat seam running up one side, and she was sure she'd invented a brand-new mistake. She hadn't. She'd been joining every round of a pattern that actually wanted a spiral, because joining was the only way she'd ever been shown. We unravelled to the brim and started again, working in a continuous spiral with a stitch marker, and by the end of the evening the seam was gone. It's the conversation I have most in my classes, because patterns so rarely say which method they mean. Crocheting in the round isn't one skill — it's two, and knowing which one your project needs is most of the battle.
Starting point: the magic ring
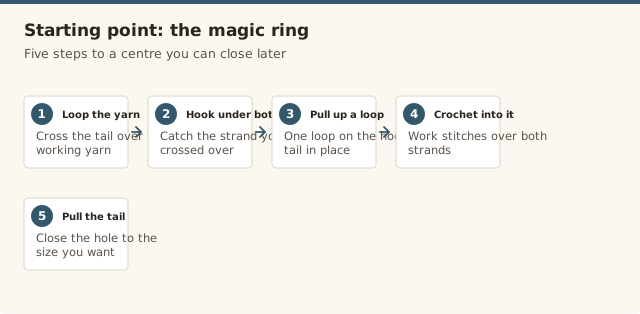
Both methods usually begin the same way, with a magic ring (or a small chain joined into a loop). The difference starts at the end of round 1.
Method 1: joined rounds
Steps
- Work your foundation ring and the stitches required for round 1.
- Slip stitch into the top of the first stitch of the round (or the starting chain) to join and close the round.
- Chain 1 (for single crochet) or chain 2–3 (for half double or double crochet) — this is your new "turning chain," even though the work isn't actually turned.
- Work your first stitch of the next round into that same first stitch, or into the space the chain created, then continue around.
- Repeat join → chain → continue for every round.
Method 2: continuous spiral rounds
Steps
- Work your foundation ring and the stitches required for round 1 — with no joining slip stitch.
- Place a stitch marker in the last stitch of the round (the first works too, just stay consistent).
- Keep working stitches in a continuous spiral, moving the marker up into the last stitch worked at the end of every round.
- Because there's no seam, the round spirals very slightly rather than stacking perfectly flat — this is normal, and is exactly what keeps amigurumi seamless.
How to tell which one your pattern wants
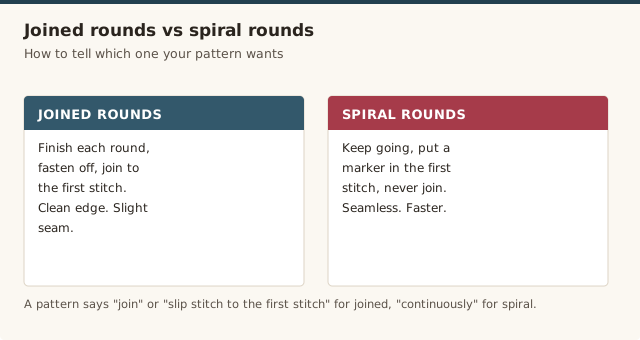
If a pattern says "join with a slip stitch," "ch 1, turn," or gives a stitch count that resets with each labeled round, it wants joined rounds. If it says "work in a continuous spiral" or "do not join," it wants spiral rounds, and you'll need a stitch marker to keep your place. If you're still unsure of the wording, our how to read a pattern guide walks through the common phrasing.
Changing colour mid-round
Both methods handle a colour change the same way: work the last stitch in the old colour until two loops remain on the hook, then draw the new colour through both loops to finish it. From there the two methods diverge slightly. On joined rounds, it's worth timing a colour change to land right at the join, so the switch lines up with the seam instead of looking scattered partway around. On spiral rounds there's no seam to line it up with, so the change will simply land wherever your marker happens to be when you decide to switch — that's normal, not a mistake.
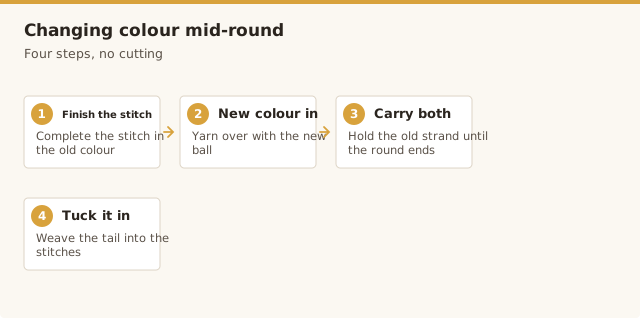
Either way, carry the yarn you're not using up the inside of the work rather than cutting and rejoining every round, unless the colour won't be needed again for a long stretch — it saves ends to weave in later and keeps the fabric from developing extra bulk at the colour-change point.
Common mistakes & fixes
Fix: this is the single most common amigurumi mistake, and a stitch marker fixes it completely. Move the marker into the last stitch worked at the end of every round, without exception, even on rounds that feel too simple to bother.
Fix: this creates a visible stepped seam where a smooth shape was expected, usually from following an old habit rather than reading what the pattern actually says. Re-check the pattern's wording before round 1 — "do not join" means exactly that, even if joining feels like the more natural thing to do.
Fix: a twist in the foundation ring carries through the entire project and is hard to spot early. Lay the ring flat and check both loops sit side by side, not crossed, before working your first stitch into it.
A demonstration of working continuous rounds, useful for seeing how the spiral builds without turning.
Frequently asked questions
Do I need a stitch marker for spiral rounds?
Strongly recommended — without one, it's very easy to lose your place after just a few rounds, especially in a solid color.
Can I convert a joined-round pattern to spiral, or the reverse?
Not directly, since joined rounds include a turning chain that adds to the stitch count and spiral rounds don't — it's best to follow whichever method the pattern specifies.
What's the small "step" I sometimes see in amigurumi?
That's the natural result of spiral rounds never being joined. Most crocheters place their final decrease or seam at that spot deliberately, to hide it.
How do I change yarn colour partway through a round?
Work your last stitch in the old colour until two loops remain on the hook, then finish that stitch by pulling the new colour through both loops. For joined rounds, time the change to happen right at the join so the colour swap lines up with the seam. For spiral rounds, the change will land wherever your marker happens to be, which is normal.
My spiral rounds keep twisting as the piece gets taller. Is that a mistake?
A slight lean is normal in spiral crochet and isn't a mistake. If it's twisting so much the fabric spirals visibly sideways, check that you aren't accidentally skipping or adding a stitch at the start of each round, which throws off the stitch count and exaggerates the lean.
Why does my flat circle ruffle instead of lying flat?
Ruffling almost always means too many increases, often from accidentally working two stitches where the pattern asked for one, or from working into the turning chain as a stitch on joined rounds. Count your stitches each round against the pattern's count; you should add the same number of increases every round.
How do I keep the centre of a crocheted circle from looking bumpy?
Spread your increases so they don't stack directly on top of each other from round to round; patterns that stagger the increase points produce a smoother, more rounded circle. Blocking flat circles also helps even out the stitches.
CrochetGuides is a participant in the Amazon Services LLC Associates Program. As an Amazon Associate we earn from qualifying purchases, at no extra cost to you.