Crochet Snowman Amigurumi Pattern
A stacked, stuffed snowman with a tiny hat and scarf — a friendly beginner amigurumi project.
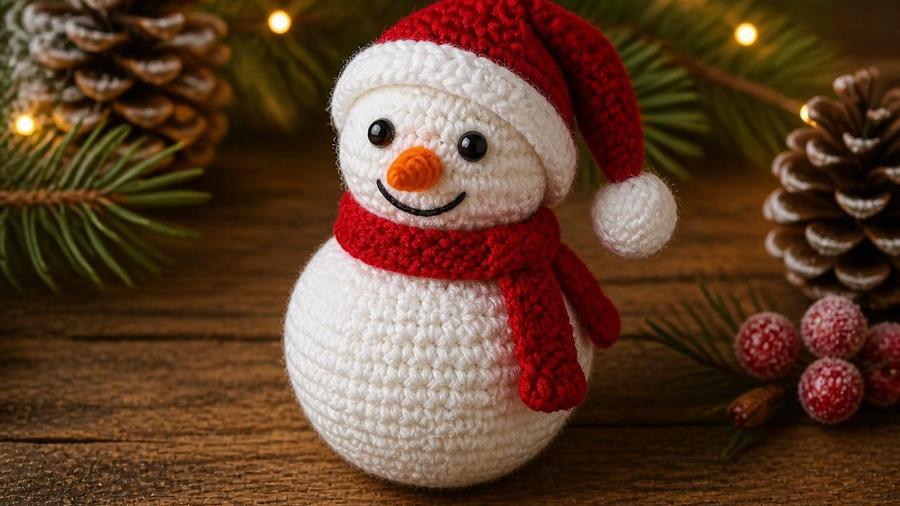
Years ago I taught a crochet snowman to a group of absolute beginners as their very first stuffed project, and the room fell quiet at the same moment every time — the point where you switch from increasing to working even, and the sphere finally starts to round out. I've kept coming back to the snowman ever since, because it's nothing more than two stuffed balls stacked on top of each other, which makes it wonderfully low-pressure. The head wobbling is the one issue I see most often, and it's almost always a matter of firm stuffing and a few extra stitches at the join. If two stacked spheres feel intimidating, our amigurumi ball pattern is a gentle warm-up before you add the hat and scarf.
White is deceptively fussy for a project like this, because every lump of stuffing and every skipped stitch shows up against it. I tell students to stuff in small, even pinches and to roll the finished sphere between their palms before closing it — you'll feel the bumps long before you see them. A smooth worsted cotton or acrylic gives the cleanest canvas for the face, where a fluffy white yarn would swallow the eyes and the little orange carrot nose completely.
What you need
- Worsted weight (#4) yarn: white (body), plus small amounts of a hat/scarf color and orange for the nose
- 4.0mm (US G/6) hook
- Polyester fiberfill stuffing
- Black safety eyes or embroidery thread for the face
- Yarn needle
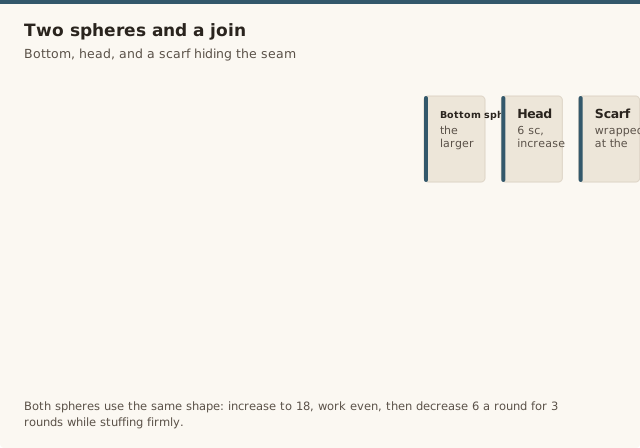
Bottom sphere (larger)
Steps
- Magic ring, 6 sc. (6 sts)
- Increase every round by 6 sts (as in the amigurumi ball pattern) for 4 rounds, to 24 sts.
- Work even for 4–5 rounds.
- Decrease by 6 sts per round for 4 rounds, stuffing firmly as the opening narrows, then close.
Top sphere (smaller, the head)
Steps
- Magic ring, 6 sc. (6 sts)
- Increase every round by 6 sts for 3 rounds, to 18 sts.
- Work even for 3 rounds.
- Decrease by 6 sts per round for 3 rounds, stuffing firmly, then close.
Assembly and face
Steps
- Stitch the smaller sphere on top of the larger one, centered, using a whip stitch around the join.
- Attach safety eyes, or embroider two small dots, on the upper half of the head sphere.
- Embroider a short orange nose (or attach a tiny crocheted cone) between the eyes.
- Add small embroidered or button details for a mouth if desired.
Hat and scarf
Steps
- Hat: magic ring, 6 sc, increase to about 16–18 sts over 2–3 rounds, then work even for 3–4 rounds to form a short cylinder that sits on the head like a beanie.
- Scarf: chain a length long enough to wrap around the neck with a small overhang, then work 2–3 rows of sc or hdc across. Add short fringe at each end if you like.
- Wrap the scarf around the join between the two spheres and tack it in place with a few stitches.
Choosing yarn and colours
For the body I always reach for a smooth worsted white — cotton or acrylic both work, but cotton has a crisper surface that makes the embroidered face pop, while acrylic is softer and cheaper if you're making several as gifts. Whatever you choose, avoid fluffy, eyelash, or bouclé white yarns here: they're cosy, but they hide the stitch definition you need to place eyes and a nose accurately. If your heart is set on something fuzzy, keep it to the hat brim or the scarf, where it looks charming rather than confusing.
The hat and scarf are where the colour story lives, so pick a shade that reads against white at a distance — deep berry, forest green, or navy all sit nicely, and a mustard or orange nose adds the one warm accent. If you're buying yarn specifically for this project, our yarn weight guide will help you swap confidently between worsted, DK, and chunky without guessing.
Sizing up or down
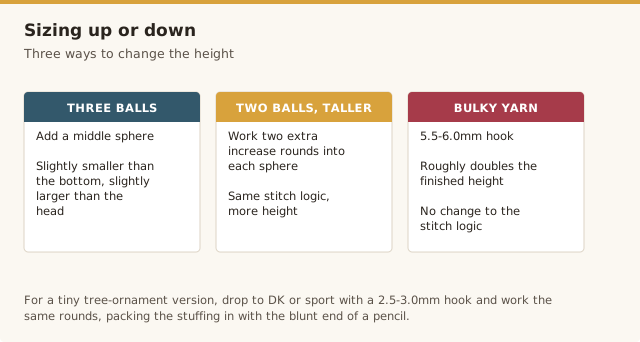
The two-ball construction makes this one of the easiest amigurumi to resize, because you're only changing two spheres. For a taller centrepiece snowman, add a third, middle-sized sphere between the two described here, or keep two spheres but work two extra increase rounds into each. A chunky or bulky yarn with a 5.5–6.0mm hook will roughly double the finished height without changing the stitch logic at all.
For a tiny tree-ornament snowman, drop to DK or sport yarn with a 2.5–3.0mm hook and work the same rounds. The only thing that changes is the stuffing — smaller pieces are fiddlier to fill evenly, so use the blunt end of a pencil to push small pinches into the narrow top. This is the same sizing approach I use in the amigurumi ball pattern, so the two guides work well together while you practise spheres.
Care and washing
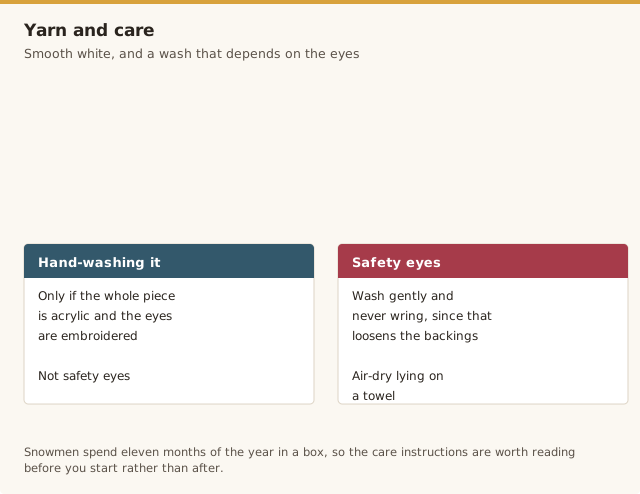
Snowmen spend eleven months of the year in a box, so a little care at the end pays off. If the whole piece is acrylic and the eyes are embroidered rather than safety eyes, it can usually be hand-washed in cool water and laid flat to dry. If you've used safety eyes, wash gently by hand and avoid wringing, which can loosen the backings. I always air-dry amigurumi lying flat on a towel rather than hanging it, so the stuffing doesn't settle into the bottom of the head and turn it lopsided.
Before you store it away, make sure it's completely dry and give it a light re-shaping with your hands. A small lavender sachet or a dryer sheet tucked beside it keeps it fresh through the summer. If you embroidered the nose and mouth rather than using a crocheted cone, check those stitches haven't loosened when you bring it out each year — one loose end can unravel the whole smile.
A demonstration of stacking and shaping amigurumi pieces, useful for seeing how the sections are joined.
Common mistakes & fixes
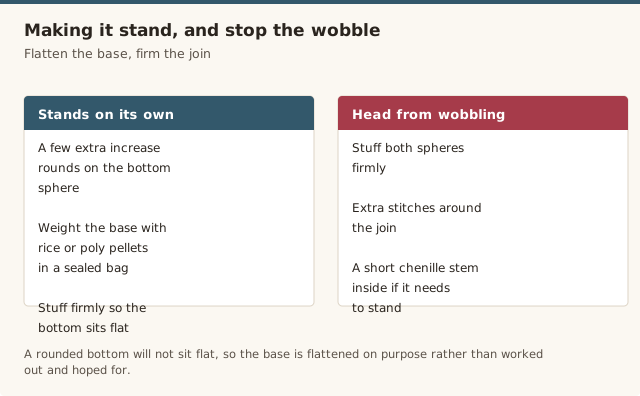
Fix: stuff both spheres firmly and take several extra stitches through the join so the head is anchored rather than perched. If it still leans, slip a short length of chenille stem down through the neck before you finish the join.
Fix: the stuffing went in as one or two big clumps. Add small pinches gradually while you close the final rounds, and roll the sphere between your palms as you go to feel where it needs more fill.
Fix: this is almost always a fluffy or textured white yarn. Switch to a smooth worsted, or embroider the face details onto a small felt circle sewn to the head first, which gives them a crisp edge to sit on.
Fix: chain a little longer than you think you need, test it around the neck before working the rows, and aim for a small overhang at each end. A scarf that's slightly long tacks down neatly, where a short one won't meet.
Fix: work one fewer increase round so the opening grips slightly, or tack the hat to the head in two places with matching yarn. A single stitch at the back is enough and stays invisible.
Fix: the base is too rounded. Add a couple of extra increase rounds to the bottom sphere, weight the very bottom with dried rice or poly pellets in a sealed bag, and stuff firmly so the underside sits flat.
Frequently asked questions
Can I make a three-ball snowman instead of two?
Yes — add a small middle sphere between the two described here for the classic three-tier look; just keep it slightly smaller than the bottom and slightly larger than the head.
What if I don't have safety eyes?
Two small black French knots or seed beads sewn on work just as well.
How do I keep the head from wobbling?
Stuff both spheres firmly and use extra stitches around the join, or add a short length of chenille stem inside for stability if the snowman needs to stand on its own.
What yarn should I use for a crochet snowman?
A smooth worsted weight acrylic or cotton works best, because it gives a clean white surface for the face and does not split easily. Avoid fluffy or textured white yarns, which can hide your stitches and make the face details harder to place.
How do I make my snowman stand up on its own?
Add a flat base by working a few extra increase rounds into the bottom sphere, weight the base with a little dried rice or poly pellets in a sealed bag, and stuff firmly so the bottom sits flat rather than rounded.
How do I wash a crochet snowman?
If it's acrylic with embroidered (not safety) eyes, hand-wash it in cool water and lay it flat to dry. With safety eyes, wash gently and never wring it, since that can loosen the backings. Air-dry it lying on a towel so the stuffing doesn't settle to one side.
Can I make this snowman into a hanging ornament?
Yes — make the small DK or sport version and thread a loop of yarn through the very top of the hat before you close it, leaving the loop long enough to slip over a tree branch. Keep the ornament light by stuffing it a little less firmly than a standing snowman.
CrochetGuides is a participant in the Amazon Services LLC Associates Program. As an Amazon Associate we earn from qualifying purchases, at no extra cost to you.