Free Diamond Trellis Stitch Blanket Pattern
Raised diagonal cords crossing into an interlocking diamond lattice, worked entirely in double crochet — no cable needle, no special tools.
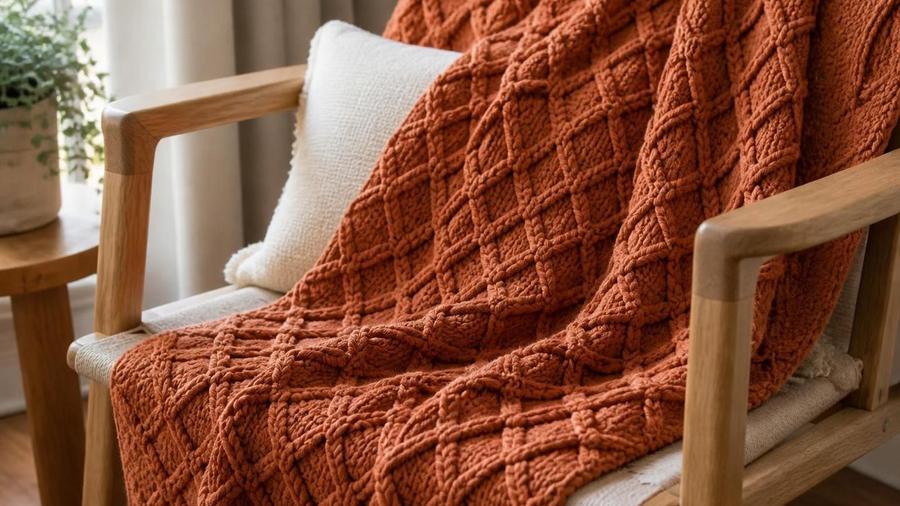
I get asked about this stitch pattern more than almost any other texture I teach, usually by someone holding up a photo on their phone and asking whether it's a cable stitch, since the crossing diagonal lines genuinely look like they should require a cable needle or some specialty tool. They don't. Every raised line in this lattice is a front-post double crochet, the same stitch used in simple ribbing, just worked at an angle and crossed deliberately to build the diamond shape instead of straight columns.
I want to be upfront about naming, because this exact texture gets mixed up online with a completely different stitch. What you're looking at in the photo is a diagonal, interlocking lattice, not a grid of small raised squares. That squared-grid texture is a different pattern entirely, and if you search for it you'll find instructions that won't reproduce what's pictured here. This pattern is built from diagonal front-post lines that literally cross over one another, the way a garden trellis or a cable knit diamond panel does, and that crossing is what makes it read as trellis rather than a grid.
Below is the full pattern in US terms, with an explanation of exactly how the front-post placement builds the diagonal, my notes on yarn choice for a raised stitch like this, and the mistakes that flatten the texture if you're not paying attention to which row you're on. If front-post stitches are new to you, our basic crochet stitches guide is a good place to get comfortable with plain double crochet first, and I'd recommend working a small practice swatch of just one diamond repeat before committing to a full blanket-width row.
Materials
- About 1,150 yards (roughly 6 skeins) of worsted-weight yarn
- 5.5mm (US I-9) crochet hook
- Stitch markers to mark the rows where lattice crossings begin
- Yarn needle and scissors
Abbreviations (US terms)
| Abbr. | Means |
|---|---|
| ch | Chain |
| dc | Double crochet |
| FPdc | Front-post double crochet |
| sc | Single crochet |
| st(s) | Stitch(es) |
Written in US terms throughout. Our basic crochet stitches guide has the UK equivalents if you learned that system.
Gauge
13 dc and 10 rows measures about 4in / 10cm square over the plain background pattern with a 5.5mm hook and worsted yarn, measured before working any front-post lattice rows, since the raised stitches pull the fabric in slightly.
Notes
- The lattice is built over a plain double crochet background; front-post stitches are worked around the post of a stitch 2 rows below, not into the current row.
- Mark the row where each diagonal crossing begins with a stitch marker — the lattice is much easier to track visually than to count blindly.
- Work a full 8-row diamond repeat before judging whether your tension and stitch placement look right; the pattern isn't visually obvious until a full diamond has formed.
Pattern
Chain 62. Double crochet in the 4th chain from the hook, and in each chain across. Turn. (60 sts)
Chain 3 (counts as first dc), double crochet in each stitch across. Turn. (60 sts each row)
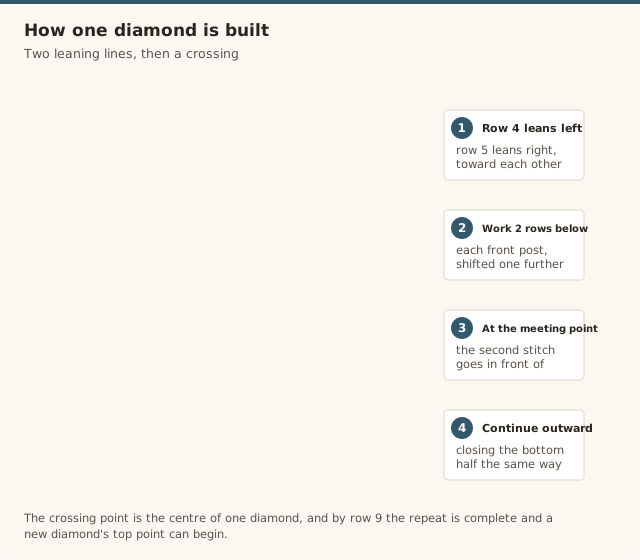
Chain 3. Work in double crochet across, except at each marked lattice point: work a front-post double crochet around the corresponding stitch 2 rows below, angled by working it slightly to the left on row 4 and slightly to the right on row 5, so the two diagonal lines begin to lean toward each other. Skip the background stitch directly behind each front-post stitch to keep the row's stitch count even.
Continue the diagonal front-post lines, working each one 2 rows below its previous front-post stitch and shifted one stitch further in its established direction. Where a left-leaning and right-leaning line meet at the same stitch, work the first front-post stitch, then work the second front-post stitch by inserting the hook in front of the first one, so the second line visibly crosses over the first. This crossing point is the centre of one diamond.
Continue the diagonal lines outward from the crossing point in mirrored directions, closing the bottom half of the diamond shape the same way the top half opened. At row 9, the diamond repeat is complete and a new diamond's top point can begin at the same row.
Repeat the 8-row diamond sequence (rows 2–9) until the piece measures about 50in / 127cm long, roughly 53 rows total at this gauge, ending after a complete diamond repeat where possible for a tidy top edge.
Work 2 rounds of single crochet evenly around all four edges, placing 3 single crochet in each corner on both rounds. Join with a slip stitch, fasten off, and weave in the ends.
How the lattice is actually built
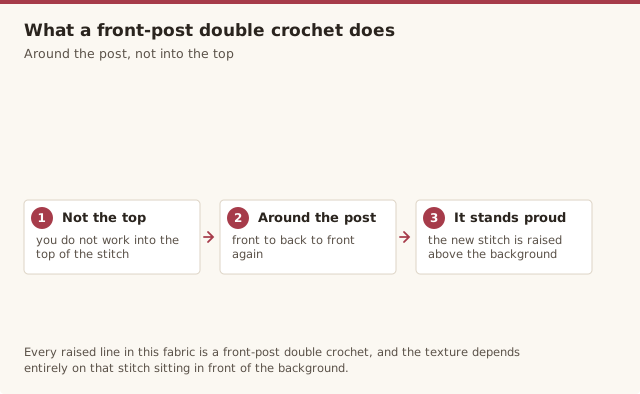
Every raised line in this fabric is a front-post double crochet: instead of inserting your hook into the top of a stitch, you insert it around the vertical post of a stitch from a previous row, from front to back to front again, then complete the double crochet as usual. Because the stitch wraps around the post rather than sitting in the row, it pulls forward and stands proud of the background, which is exactly what gives this pattern its raised, corded look.
The diamond shape comes from working these front-post stitches on a diagonal rather than in a straight vertical line: each one is placed one stitch further left or right than the front-post stitch two rows below it, so a single diagonal line gradually walks across the fabric as you work upward. Two such lines, one walking left and one walking right, are staggered to meet and cross at a shared point, then walk back apart in mirrored directions to close the diamond shape below. It's genuinely the same logic as a knit cable diamond panel, translated into crochet's front-post technique instead of a cable needle.
Choosing yarn for a textured stitch
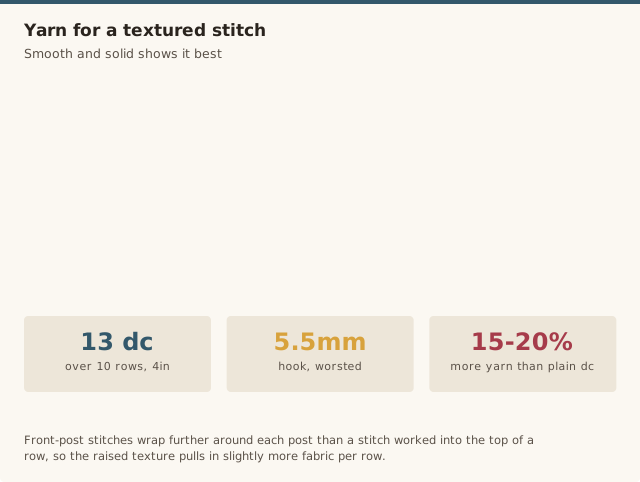
A smooth, well-plied worsted-weight yarn shows this lattice far more clearly than a fuzzy or heavily variegated one, since the raised texture depends on visible contrast between the front-post lines and the recessed background. A rich, solid colour, like the rust shown here, lets the shadow cast by the raised stitches do the work of defining the pattern. Save any variegated or speckled yarn for a plainer stitch where the colour itself is the main interest; on a textured stitch like this, a busy colourway competes with the texture rather than showing it off. Our yarn weight guide covers how different weights affect stitch definition if you're substituting yarn.
Sizing up or down
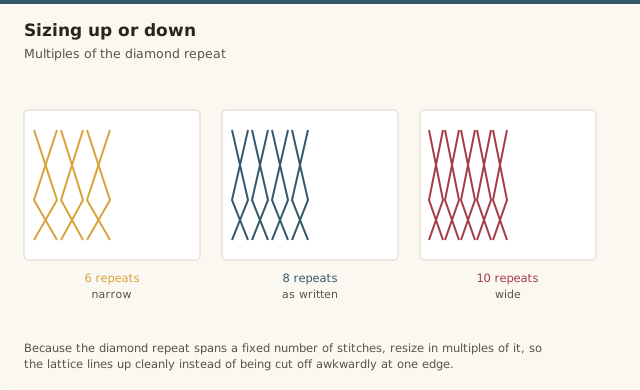
Because the diamond repeat spans a fixed number of stitches, resize the width in multiples of that repeat rather than any arbitrary number, so the lattice pattern lines up cleanly rather than getting cut off awkwardly at one edge. For length, the 8-row diamond repeat can simply be worked more or fewer times; there's no structural reason to stop mid-diamond, but the top edge looks tidiest if you finish on a completed repeat. A pillow-sized swatch, worked as one or two full diamond repeats, is also a good way to test both your gauge and your comfort with the technique before committing to a full blanket's worth of yarn.
Common mistakes & fixes
Fix: insert your hook around the vertical post of the stitch from the row below, front to back to front, not into the usual two top loops. The stitch should visibly stand forward once complete.
Fix: mark the row where each new diagonal begins with a stitch marker, and check your work against the previous diamond repeat before starting a new one — the pattern is far easier to follow visually once one full diamond exists to compare against.
Fix: each front-post stitch replaces, rather than adds to, the plain stitch that would otherwise sit in that spot. Skip that background stitch so your row count stays consistent.
Fix: use a smooth, solid or near-solid colour. This stitch relies on visible shadow and contrast between raised and background stitches, which a highly variegated yarn obscures.
Fix: always resize in multiples of the diamond repeat's stitch width, so the lattice pattern lines up cleanly at both side edges instead of getting cut off mid-diamond.
Our pick
Caron Simply Soft Yarn
A smooth, well-plied worsted-weight yarn with excellent stitch definition, ideal for showing off a raised texture like this diamond trellis.
View on Amazon →Frequently asked questions
What stitch creates a diamond trellis pattern in crochet?
A raised diagonal lattice like this is built from front-post double crochet stitches worked on a diagonal across a plain background of double crochet, crossing over each other at intervals to form interlocking diamond shapes. The background stitches recede while the front-post stitches stand raised above the fabric.
Is diamond trellis stitch the same as basket-weave stitch?
No. Basket-weave stitch creates a grid of small raised squares using straight horizontal and vertical front-post stitches. Diamond trellis stitch uses diagonal front-post lines that cross over one another, producing an interlocking lattice rather than a squared grid.
What is front-post double crochet?
Front-post double crochet is worked by inserting the hook around the post of a stitch from the row below, from front to back to front, rather than into the top of the stitch. This lifts the new stitch forward, raised above the background fabric, which is what gives this pattern its dimensional, corded texture.
Is diamond trellis stitch hard for beginners?
It's a step up from a plain stitch blanket, since front-post stitches and tracking a diagonal placement take more attention than working into the top of every stitch. A beginner who's comfortable with double crochet and has made at least one textured project, like a bobble or ribbed piece, should be able to manage it.
Why does my diamond trellis blanket use more yarn than a plain blanket the same size?
Front-post stitches wrap further around each post than a stitch worked into the top of a row, and the raised, corded texture pulls in slightly more fabric per row than a flat stitch. Budget 15 to 20 percent more yarn than a plain double crochet blanket of the same finished size.
Does diamond trellis stitch curl at the edges?
Less than a plain single crochet fabric, since the mix of front-post and background stitches creates a naturally textured, less curl-prone fabric. A simple single crochet border is still worth adding for a clean finished edge.
CrochetGuides is a participant in the Amazon Services LLC Associates Program. As an Amazon Associate we earn from qualifying purchases, at no extra cost to you.