3 Free Halloween Amigurumi Patterns (Pumpkin, Ghost & Bat)
Small, fast, spooky-cute projects you can finish in an evening — perfect for October decor or trick-or-treat gifts.
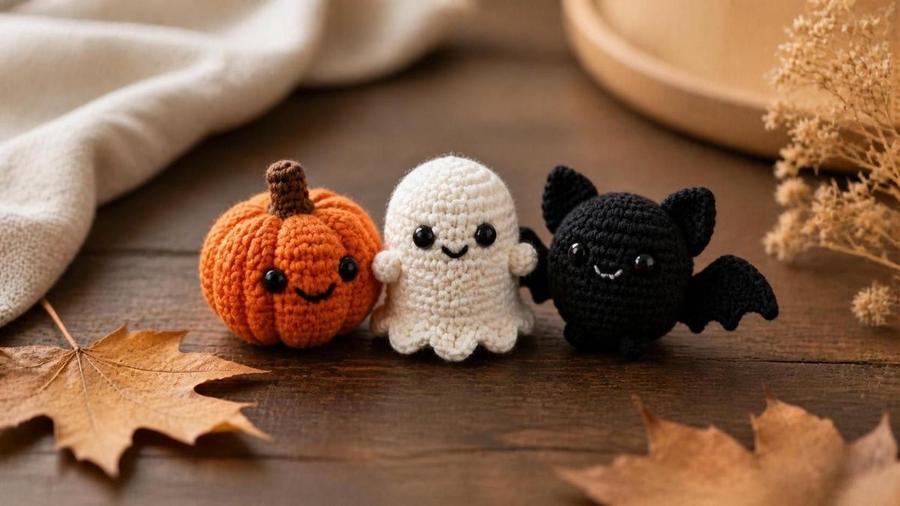
The October my students started asking for Halloween amigurumi, I realised the smartest thing I could do was teach them three shapes that share one technique. Once you can crochet a sphere, a pumpkin, a ghost, and a bat are almost the same pattern wearing different hats. I still keep a bowl of these on my desk all October — the pumpkin with its embroidered ridges, the ghost with a flared skirt instead of a closed bottom, and a tiny bat whose wings are just a flat triangle sewn on sideways. These Halloween amigurumi patterns each use less than twenty grams of yarn and finish in under an hour, which makes them the project I hand to a beginner who wants something finished before the trick-or-treaters arrive, not after Halloween's over.
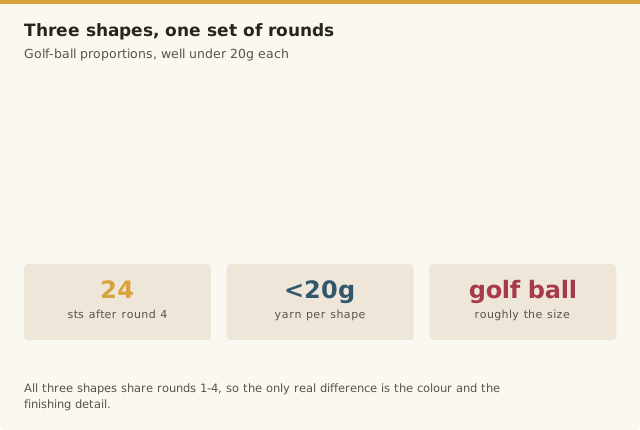
What makes the three work together as a set is that they all start from the same six-stitch magic ring and build outward with the same increases. Learn the sphere once and you get all three shapes nearly free. That's the trick I lean on in class: teach one skill, then show people how far it stretches before they even realise they've learned three toys.
What you need
- Worsted weight (#4) yarn in orange, white, black, and a scrap of green or brown
- 3.5mm hook (a size smaller than the yarn label suggests, for tight, stuffing-proof fabric)
- Polyester stuffing
- Small amount of black yarn or 2-3mm safety eyes for faces
- Yarn needle and stitch marker
Mini pumpkin
Steps
- Magic ring, work 6 sc into the ring. (6 sts)
- Round 2: 2 sc in each stitch around. (12)
- Round 3: *sc 1, 2 sc in next* around. (18)
- Round 4: *sc 2, 2 sc in next* around. (24)
- Rounds 5–8: sc around with no increases (24 sts each round), stuffing firmly as you go.
- Round 9: *sc 2, sc2tog* around. (18)
- Round 10: *sc 1, sc2tog* around. (12)
- Round 11: *sc2tog* around. (6) — finish stuffing before closing.
- Fasten off, leaving a tail. Thread it through the remaining 6 stitches, pull tight, and secure.
- With brown or green yarn, embroider 6–8 vertical lines from top to bottom to create pumpkin ridges.
- For a stem, chain 6 with brown yarn, sc back across, roll into a small coil, and sew to the top.
Friendly ghost
Steps
- Work rounds 1–4 exactly as the pumpkin above in white yarn. (24 sts)
- Rounds 5–9: sc around with no increases (24 sts each round), stuffing the upper two-thirds only.
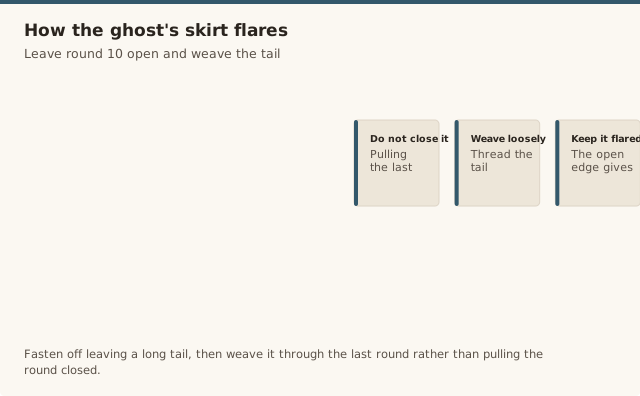
- Round 10: work 1 round of sc with no increase, but leave the bottom open and unstuffed — this becomes the flared "skirt."
- Fasten off leaving a long tail. Instead of closing the round, weave the tail through the last round's stitches loosely, letting the bottom edge stay open and slightly flared rather than pulling closed.
- Embroider two small black dot eyes and a small "o" mouth using straight stitches or French knots.
Tiny bat
Steps
- Body: magic ring, work 6 sc into the ring, then round 2: 2 sc in each stitch (12). Work 3 rounds even (sc around, no increase), stuffing lightly, then close with sc2tog around and fasten off. This makes a small oval body.
- Ears: chain 2, work 3 sc into the 2nd chain from hook, fasten off leaving a tail. Make 2 and sew to the top of the head.
- Wings (make 2): chain 4. Row 1: sc in 2nd chain from hook and each chain across (3 sts), chain 1, turn. Row 2: 2 sc in first st, sc to last st, 2 sc in last st (5 sts), chain 1, turn. Row 3: repeat row 2's increase (7 sts). Fasten off.
- Sew one wing to each side of the body, and embroider small white dot eyes.
Yarn, colour & faces
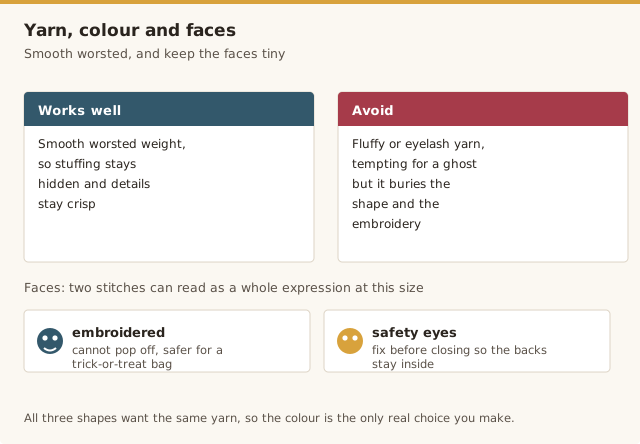
All three shapes want a smooth worsted-weight yarn so the stuffing stays hidden and the details stay crisp. Fluffy or eyelash yarn is tempting for a ghost but it buries the shape and makes the embroidery hard to see. For faces, I almost always embroider rather than use plastic safety eyes, especially when there's any chance a small child might get hold of one — a sewn-on face can't pop off and become a choking hazard, which matters when toys end up in trick-or-treat bags. If you do use safety eyes, choose a size that won't fit through the stitches and fix them on before the piece is closed so the backs are inside. Our best yarn for amigurumi guide has more on fibre choices for toys.
For colour, don't feel locked to classic Halloween. A cream ghost, a sage or mustard pumpkin, and a grey bat look just as seasonal arranged on a shelf, and they photograph better against dark October decor. Keep the faces tiny and low on the head — two stitches can read as a whole expression on a piece this small.
Scaling the toys up or down
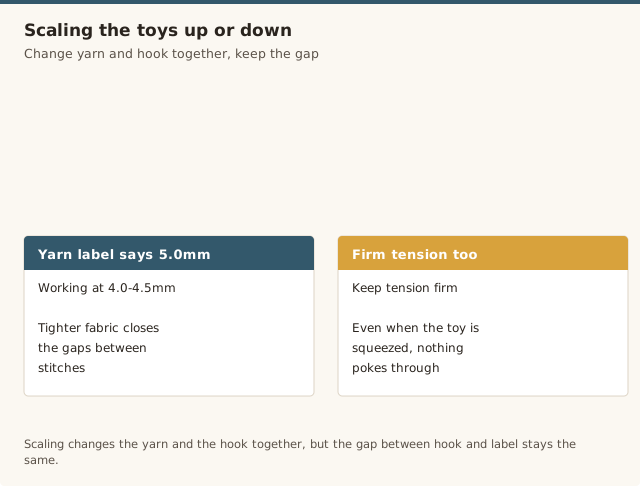
These are sized around golf-ball proportions, but the same patterns scale cleanly the way all amigurumi does. For bigger toys, move up to a heavier yarn and a proportionally larger hook — still a size or two smaller than the label suggests so the stuffing stays hidden — and the toys grow without changing a single instruction. For tiny versions, drop to a finer yarn and a smaller hook. The one part that needs a little thought is the bat's wings: they're worked flat, so a much larger bat benefits from a couple of extra increase rows so the wings stay in proportion. Our amigurumi for beginners page covers how hook and yarn size change the finished size.
Decorating & gifting for October
A bowl of these on a hallway table does more for a room than a single shop-bought figurine, and a set of three makes a lovely little host gift when you're invited to a Halloween supper. I string the ghosts and bats onto a length of yarn with a chain between them for a garland, and tuck a pumpkin or two into the dish of wrapped sweets by the door. Because they're soft and stuffed, they're the Halloween decoration I never worry about dropping or knocking over. If you're giving one to a child, an embroidered face instead of safety eyes is the safer choice, and it's worth a quick note to the parent that it's a soft toy rather than something to leave in a cot.
Common mistakes & fixes
Frequently asked questions
Can I use scrap yarn for these?
Yes — each shape uses well under 20g, so leftover yarn from other projects is ideal.
What size hook should I use for amigurumi?
Usually 1–2mm smaller than the size printed on your yarn label. This tightens the fabric so stuffing doesn't show through the gaps.
How do I make the pumpkin ridges look neater?
Keep your embroidery lines evenly spaced by eye before you start, and pull each stitch to the same, moderate tension so the ridges sit at a consistent depth.
Can I make these Halloween amigurumi bigger or smaller?
Yes — switch to a heavier yarn and a proportionally larger hook for a bigger toy, or a lighter yarn with a smaller hook for a tinier one. Keep the hook smaller than the yarn label suggests so the stuffing stays hidden.
How do I stop the stuffing from showing through the stitches?
Use a hook a size or two smaller than the yarn label recommends and keep your tension firm. The tighter fabric closes the gaps between stitches, so the stuffing can't poke through even when the toy is squeezed.
Are safety eyes safe for young children?
For babies and toddlers, embroider the faces instead — a sewn face can't pop off and become a choking hazard, which is the safer choice for toys that might end up in small hands.
How do I make the ghost's skirt flare nicely?
Leave the bottom round open and weave the tail loosely through the last round's stitches instead of pulling it closed. The edge stays slightly flared, which gives the ghost its skirt-like shape.
CrochetGuides is a participant in the Amazon Services LLC Associates Program. As an Amazon Associate we earn from qualifying purchases, at no extra cost to you.