Free Crochet Ghost Amigurumi Pattern
A simple classic ghost shape with a scalloped wavy bottom edge instead of a plain closed circle, worked in a single evening.
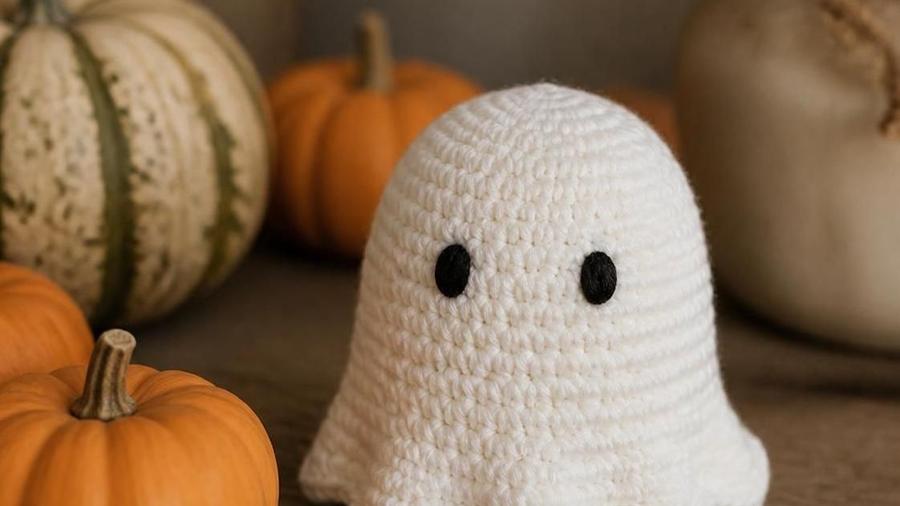
Most amigurumi projects end the same way: a plain decrease round pulling everything closed into a flat circle at the bottom. A ghost is one of the few shapes where that standard closing round is actually the wrong choice, since a ghost's whole visual identity comes from that wavy, dripping-looking bottom edge rather than a flat base. Skip the shell-stitch final round and you get a smooth white blob that could be anything; include it and it reads instantly as a ghost from across the room.
This is also one of the fastest, cheapest amigurumi projects on the site, a genuine one-skein, one-evening make using scraps most crocheters already have in their stash. This pattern covers the increase shaping that gives it a properly rounded ghost silhouette, plus the specific scallop repeat that gets that classic wavy edge right on the first try.
Because the whole piece is small and worked in a light, forgiving color, it's also a genuinely good project for practicing tension and stitch consistency without the higher stakes of a larger toy. Any unevenness in the stitches shows up clearly against plain white or cream, which is useful feedback while you're learning, rather than something to avoid. If your gauge drifts a little between sessions, this is a low-cost place to notice it before it becomes a habit carried into a bigger project.
Materials
- About 40–60 yards of white or cream worsted-weight yarn
- 3.5mm / E-4 hook
- Small amount of polyester fiberfill
- Safety eyes (6-9mm) or black embroidery floss
- Stitch marker, yarn needle, scissors
Abbreviations (US terms)
| Abbr. | Means |
|---|---|
| sc | Single crochet |
| inc | Increase (2 sc in same st) |
| dc | Double crochet |
| st(s) | Stitch(es) |
See our abbreviations glossary for the full list including UK terms.
Notes
- Worked in continuous rounds throughout; place a marker at the start of each round.
- See our invisible decrease guide and flat circle technique guide for the underlying increase math used in the body.
- The final round is a shell-stitch scallop repeat rather than a plain decrease closure.
Pattern
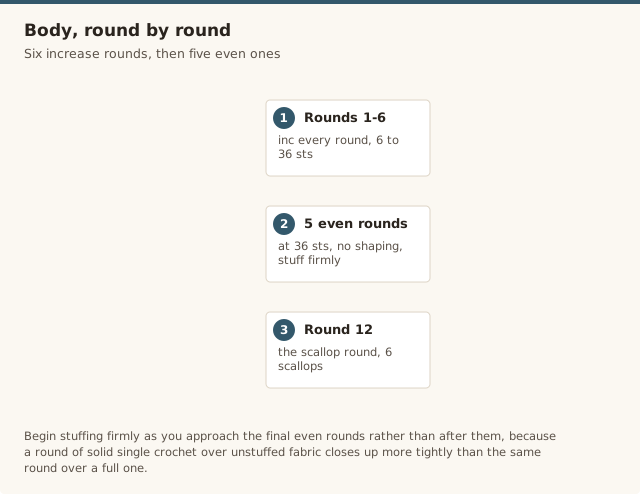
Magic ring, 6 sc into ring (6). Rnd 2: inc in every st (12). Rnd 3: *sc, inc* around (18). Rnd 4: *sc 2, inc* around (24). Rnd 5: *sc 3, inc* around (30). Rnd 6: *sc 4, inc* around (36).
Work 5 rounds even at 36 sts, no increases or decreases. This forms the rounded middle of the body. Begin stuffing firmly as you approach the final rounds.
Round 12 (final round): *skip 1 st, 5 dc in next st, skip 1 st, sl st in next st* repeat around (36 sts used, 6 scallops total). Finish stuffing fully before closing this round. Fasten off, leaving a short tail, and weave in.
Mark the center-front stitch on round 6 or 7 with a scrap of contrast yarn before continuing, then place safety eyes or embroider the eyes and mouth centered on that marker once the body is complete. Weave in all remaining ends once the face is attached.
Getting the scalloped edge right
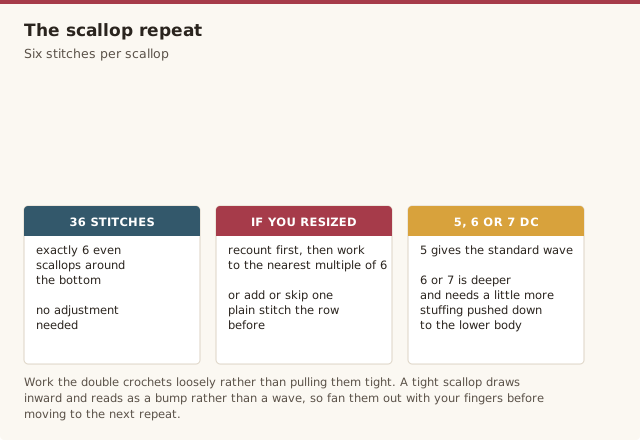
The scallop repeat above needs the round's stitch count to divide evenly by 6, since each scallop uses 6 stitches (1 skipped, 5 dc worked into 1 stitch, 1 skipped, 1 slip stitch). At 36 stitches that gives exactly 6 even scallops around the bottom. If you've adjusted the body's size and changed the final round's stitch count, recount before starting this round and adjust to the nearest multiple of 6, either by adding or skipping one plain stitch in the round just before it, so every scallop comes out the same size rather than one being noticeably bigger or smaller than the rest.
Work the 5 double crochets into the same stitch loosely rather than pulling them tight, since a tight scallop tends to draw inward and look more like a bump than a wave. Fanning them out slightly with your fingers as you go, before moving to the next repeat, helps the finished edge lie in a more even, rounded wave rather than bunching.
If you'd like a fuller, more dramatic wave than the standard 5-dc scallop gives, working 6 or 7 double crochets into each stitch instead produces a deeper, more pronounced ripple, though it also uses slightly more yarn and needs a touch more stuffing pushed down into the lower body to keep the extra fabric from collapsing inward. Either version uses the same skip-and-slip-stitch spacing between repeats, so the choice comes down entirely to how dramatic you want the finished edge to look.
One extra detail worth planning for: because the scalloped edge is the very last round worked, it's also the only part of the piece you can't easily unravel and redo without also undoing the stuffing that's already packed in below it. Do a full stitch-count check on the round immediately before the scallop round, rather than trusting the running total from memory, so you're only committing to the final round once you know it's starting from the right base.
Placing the face
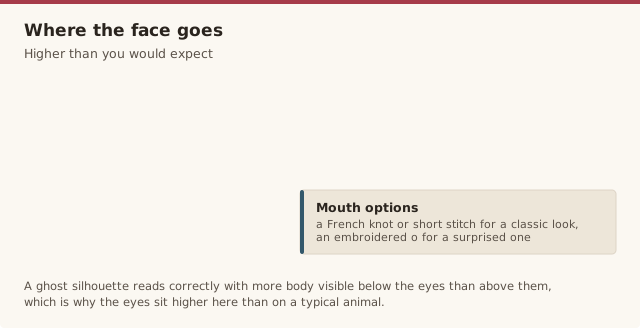
A ghost's face sits noticeably higher than most amigurumi animal faces, generally around round 5 or 6 rather than dead-center on the body, since a ghost silhouette reads correctly with more "body" visible below the eyes than above them. Placing the eyes too low, closer to the middle of the piece, makes it look more like a snowman than a ghost. Mark your intended eye row with a scrap of yarn before you reach it, then double-check placement by holding the unstuffed piece up and looking at it from a small distance, since a marked stitch can look right up close and still be off once the whole shape is visible.
Spacing between the eyes matters just as much as their height. A gap of roughly 4-5 stitches between the two eye placements, worked on round 5 or 6 where the body has already widened out, reads as a natural, friendly expression. Going narrower than that risks the cross-eyed look covered in the troubleshooting section below, and going much wider tends to push the eyes out toward the sides where they read as ears rather than a face.
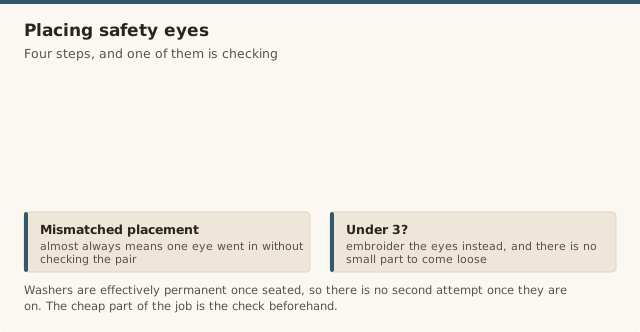
If you're using safety eyes, insert both posts from the outside before pushing the backing washers on from inside the stuffed piece, since washers are effectively permanent once seated and pushing eyes in one at a time without checking the pair together is the single most common cause of mismatched placement. Hold the two posts up to the body and eyeball the spacing against your marked round before committing to either one.
The mouth is easy to skip or rush since it's such a small detail, but it does more to set the personality of the finished piece than either the eyes or the overall shape. A single small black French knot or a short straight stitch below and between the eyes gives a simple, classic look; a small embroidered oval in the shape of an "o" gives a more surprised, animated expression. Either is worked directly onto the finished, stuffed piece with a single strand of embroidery floss and a sharp needle, after the eyes are already placed, so you can adjust the mouth's exact position relative to where the eyes actually landed rather than guessing in advance.
Quick variations once you've made one
Once the basic shape and scallop technique are familiar, this pattern is an easy base for small variations. A pastel-colored version in lavender or soft grey instead of white shifts it from "classic Halloween ghost" to a year-round, gender-neutral nursery toy. Working the body a size or two smaller, stopping the increase rounds one round earlier than written, turns it into a keychain-scale ornament rather than a shelf-sitting toy. A contrasting scallop edge, worked in a second color rather than matching the body, adds a bit of visual interest without changing the construction at all, since the scallop round is worked identically regardless of color.
Getting the ghost shape right
Fix: use the smaller 3.5mm hook for tighter stitches even if the yarn label suggests a bigger one, and keep tension consistent round to round.
Fix: mark the exact center-front stitch with a scrap of contrast yarn before increasing further, and place the face relative to that marker, not by eye after stuffing.
Fix: stuff in small pinches and check symmetry by looking straight at the front and both sides as you go, not just at the end.
Fix: recount the stitch multiple required for the shell repeat before starting the final round, a mismatch by even 1-2 stitches throws the spacing off.
Fix: push the eye posts in and stand the piece up to check from a few feet away before locking the washers on.
A note on the "Our pick" box some of our other patterns include: this one is skipped here on purpose. A ghost amigurumi is a small, cheap, one-skein project, and recommending a specific product purchase for something this simple would feel forced rather than genuinely useful.
Ghost amigurumi FAQ
What hook size keeps the stitches tight enough to look smooth?
A 3.5mm/E-4 hook, even if the yarn label suggests a larger size, keeps amigurumi stitches tight and gap-free so the white or cream yarn doesn't show the stuffing through the fabric. Keep tension consistent round to round rather than switching grip partway through.
Safety eyes or embroidered eyes for this pattern?
Either works well on a ghost. Safety eyes give a cleaner, more finished look and are quick to attach; embroidered eyes are the safer choice for a very young child's toy since there's no small hard piece that could work loose over time.
How much yarn does one ghost actually take?
About 40-60 yards of worsted-weight yarn for a single ghost this size, making it a genuinely quick, small-scrap-friendly project.
Can it be made as a hanging ornament with a loop added at the top?
Yes, work a short chain of 6-8 stitches at the very top of the head before fastening off, then fold it into a loop and sew the end down securely. A ribbon loop sewn on afterward works just as well if you'd rather not crochet one.
How do I keep white yarn looking clean while working on it?
Wash your hands before starting a session, keep the working ball in a small bag or container rather than loose in your lap, and avoid setting the piece down on dark surfaces between sessions. White yarn shows every bit of handling far more than a darker color would.
Can the face be changed to look more "cute" versus "spooky"?
Yes, small round dot eyes set closer together with a simple curved smile reads as cute and friendly, while narrower oval eyes set further apart with a plain "o" mouth reads as more classically spooky. The construction underneath doesn't change either way, only the face placement and shape.
CrochetGuides is a participant in the Amazon Services LLC Associates Program. As an Amazon Associate we earn from qualifying purchases, at no extra cost to you.