Free Crochet Fingerless Gloves Pattern for Beginners
A snug tube with a thumb gap, sized for adult hands — the grown-up version of our kids mitts.
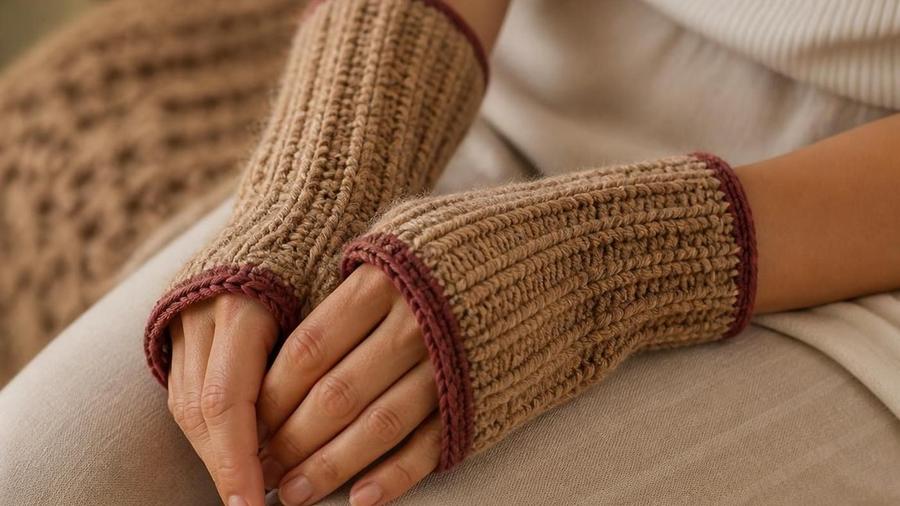
In my classes, fingerless gloves are the project I suggest whenever a student wants something they can finish before the weather turns, and I've watched more of them than I can count. The mistake I see most often isn't the shaping — it's a starting chain worked so tightly that the cuff won't slide over the knuckles, followed closely by two gloves with the thumb gaps accidentally placed on opposite sides. One student did exactly that and had to frog an entire second glove, but she still came back the next week with a matched pair and a grin. I taught these gloves for years using a plain single crochet tube with a six-chain thumb gap, and this pattern is that exact method, written down properly for adult hands.
These gloves use the same tube-with-a-thumb-gap construction as our kids fingerless mitts pattern, scaled up for an adult hand and wrist. No fitted fingers to work individually — just a snug tube that stretches comfortably into place.
Materials
- 1 skein worsted-weight yarn (about 100–130 yards for a pair)
- 4.5mm (US size 7) crochet hook
- Stitch marker, to track the start of each round
- Scissors
- Yarn needle, for weaving in ends
Abbreviations (US terms)
| Abbr. | Means |
|---|---|
| ch | Chain |
| sc | Single crochet |
| st(s) | Stitch(es) |
| rnd(s) | Round(s) |
See our abbreviations glossary for the full list including UK terms.
Gauge
14 sc and 16 rows measures about 4in / 10cm square with a 4.5mm hook and worsted yarn. Fit depends directly on your starting chain — measure your hand before starting for the best fit.
Notes
- Written in US terms, worked in a continuous spiral — use a stitch marker to track round starts, same technique as our kids mitts pattern.
- Makes one glove; repeat for a matching pair.
- The numbers below fit an average adult hand; adjust the starting chain in multiples of 2 for a snugger or looser fit.
Pattern (make 2)
Ch 28, join with a sl st to form a ring, being careful not to twist the chain. Place marker. (28 sts)
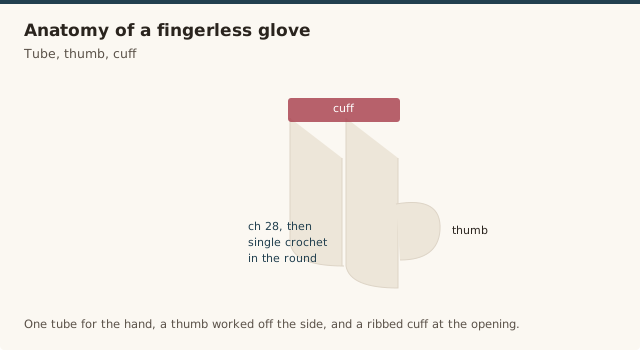
Sc in every st around. (28 sts each round)
Sc 22, ch 6 (skip next 6 sts, leaving a gap for the thumb), sc in remaining sts to end of round. (28 sts total, including the 6-chain gap)
Sc in every st around, working sc into each of the 6 chain sts from the gap as if they were regular stitches. (28 sts)
Sc in every st around. (28 sts each round)
Fasten off and weave in ends with a yarn needle. Repeat the entire pattern for the second glove.
A tutorial on crocheting fingerless gloves, useful for seeing the thumb gap placement and cuff shaping.
Choosing yarn and color
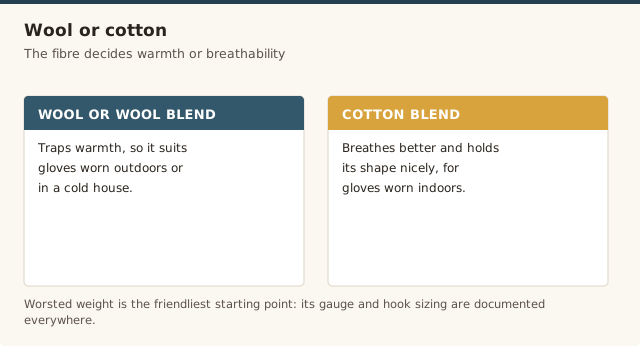
Worsted-weight yarn is the friendliest starting point since gauge and hook sizing for it are well documented everywhere, but the fiber content changes how the finished gloves feel and function. A wool or wool-blend yarn traps warmth well, which makes sense for gloves worn outdoors or in a cold house; a cotton or cotton-acrylic blend breathes better and holds its shape nicely for gloves worn indoors at a desk or while doing other handwork.
For gifting, a single skein in a rich solid color reads as more polished than a busy variegated yarn, since the plain single crochet fabric doesn't have texture to compete with a print. If you'd rather use up scraps, self-striping or gradient yarns work beautifully here too — the continuous spiral construction means stripes form automatically without any color-change fuss.
These gloves also make an easy matching set with a couple of our other quick patterns: the same skein of yarn used here typically has enough left over for a twisted headband, and a slightly heavier weight in the same colorway pairs well with our single crochet beanie. Working all three from one dye lot avoids the slight color variation that can show up between different skeins purchased separately, which matters more than people expect when the pieces are worn together.
Sizing up or down
Add or remove 2 chains from the starting round to adjust the circumference, and add or remove rounds from the straight sections to adjust the length. A tighter fit (useful if the fabric feels loose once worn) usually means removing 2 to 4 chains from the starting round; a looser, more relaxed fit means adding the same amount.
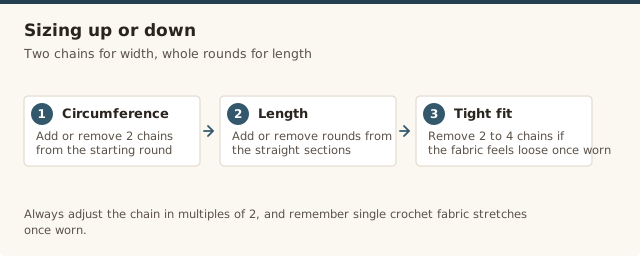
For wrist length, the six rounds before the thumb gap and the four rounds after it can each be lengthened independently — add rounds before the gap for gloves that reach further up the forearm, or after it for more coverage over the back of the hand. Since the whole piece is worked in a continuous spiral with no shaping, any of these adjustments are safe to make without throwing off the rest of the pattern.
Caring for finished gloves
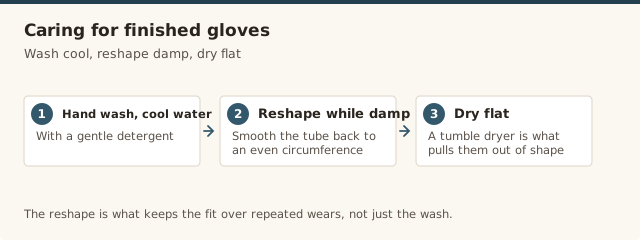
Hand-washing in cool water with a gentle detergent, then laying the gloves flat to dry, keeps single crochet fabric from stretching out of shape the way a tumble dryer can. Reshaping them slightly while damp — smoothing the tube back into an even circumference before they dry — helps them keep their fit over repeated wears.
Always check the yarn label before washing, since some wool blends are machine-washable on a delicate or wool cycle while others need to stay hand-wash only. Either way, avoid high heat: it's the most common way handmade gloves end up felted or shrunken.
Between wears, storing the gloves flat rather than balled up or hung on a hook helps them keep their shape too, since single crochet fabric can develop stretched-out spots wherever it's under tension for long periods. A drawer or a flat basket works better than a hook by the door, even though the hook is more convenient — a small trade-off that keeps the gloves fitting well for longer.
Common mistakes & fixes
Fix: always move the stitch marker up into the first stitch of each new round as you go — skipping this for even a couple of rounds makes it hard to tell where you are.
Fix: chain the 6 stitches for the gap slightly looser than your regular tension, and go slowly on the following round while working into those chain stitches.
Fix: write down any adjustments you make to the first glove — chain count, extra rounds, hook size — and copy them exactly for the second one.
Fix: work a small swatch first, especially if your yarn or hook differs from what's listed — single crochet tension varies more between crocheters than most other stitches.
Our pick
Cotton worsted-weight yarn, 3-pack
Enough yarn for a pair of gloves plus extra for a second colourway or a matching accessory.
View on Amazon →Frequently asked questions
How do I size fingerless gloves for my hand?
Measure around the widest part of your hand excluding the thumb, and adjust the starting chain up or down in multiples of 2 to match, keeping in mind single crochet fabric stretches slightly once worn.
How much yarn do I need for fingerless gloves?
A pair of adult fingerless gloves uses roughly 100 to 130 yards of worsted-weight yarn total, comfortably within a single skein.
What is the difference between these gloves and the kids fingerless mitts pattern?
The construction is identical, just scaled up: this version uses a larger starting chain and more rounds to fit an adult hand and wrist length.
What yarn weight and fiber works best for fingerless gloves?
Worsted-weight is the easiest starting point since gauge and hook sizing are well documented, but a wool or wool-blend yarn adds warmth for winter wear, while cotton or a cotton blend is more breathable for gloves worn indoors while typing or knitting.
Can I add a fold-over cuff or thumbhole ribbing to this pattern?
Yes — working a few extra rounds in single crochet through the back loop only at the cuff edge creates a ribbed look that folds over neatly, without changing the rest of the construction.
How do I wash and care for finished fingerless gloves?
Hand-wash in cool water with a gentle detergent and lay flat to dry, which keeps the stitches from stretching out of shape; check the yarn label first, since some wool blends can be machine washed on a delicate cycle.
Can I add a full thumb instead of just a thumb gap?
Yes — once the glove is finished, join yarn at the thumb gap and work single crochet in the round around the opening for a few rounds to build a short thumb tube, then fasten off and weave in the end.
How do I keep my fingerless gloves from sliding down my wrists?
A snugger fit usually means removing 2 to 4 chains from the starting round, or working the cuff section through the back loop only to create a ribbed edge that grips more firmly without feeling tight.
CrochetGuides is a participant in the Amazon Services LLC Associates Program. As an Amazon Associate we earn from qualifying purchases, at no extra cost to you.