Granny Square Market Bag Pattern
Nine granny squares, joined and folded into a sturdy everyday tote — a great scrap-yarn project.
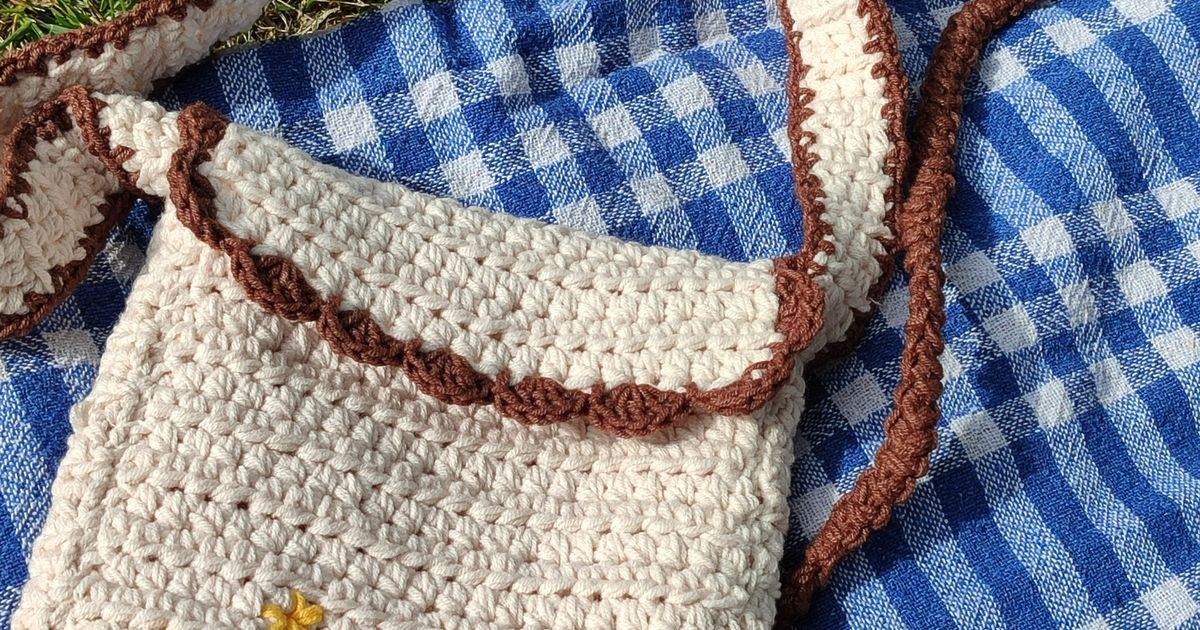
My grandmother's scrap basket is where this market bag started. She never threw away a leftover ball of cotton, and every few months she'd turn nine mismatched granny squares into a tote rather than let them sit unused. The first one I made came out lopsided, and it took me longer than it should have to realise the problem wasn't my joining — it was that I'd seamed squares of slightly different sizes without checking them first. Blocking them to match before joining is the single step that separates a bag that sits square on the counter from one that leans every time you set it down. Once I sorted that, the whole thing stopped being fiddly and became one of my favourite scrap projects to teach.
What you need
- Worsted/#4 weight yarn, ideally cotton or a cotton blend for structure, in 2–3 colors
- 4.5mm hook
- Yarn needle
- Stitch markers
Step 1: make nine granny squares
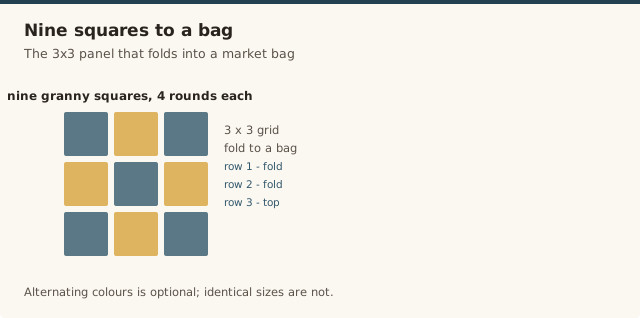
Following our granny square tutorial, make nine identical squares, each worked to 4 rounds. Keep every square the same size, and weave in ends as you finish each one to save time later.
Step 2: lay out and join
Steps
- Arrange your nine squares in a 3×3 grid, right side up, alternating colors if you like.
- Join the squares in each row of three first, working slip-stitch or whip-stitch seams along the touching edges.
- Join the three rows together the same way to form one 3×3 panel.
Step 3: fold into a bag shape
Steps
- Fold the joined panel so the bottom row becomes the base, and the two side columns fold up to become the sides — the top row stays open as the bag's opening.
- Seam the two side edges closed, working from the base up to the top edge.
Step 4: add the strap and edging
Steps
- Join yarn at one top corner and single crochet evenly around the entire top opening for one round, to neaten the edge.
- For the strap, chain a length of about 90cm (adjust to your preference), then single crochet back across the chain for 3–4 rows to build a sturdy flat strap.
- Sew one end of the strap to each side of the bag's top edge, checking it isn't twisted before securing.
Reinforcing the strap
A strap worked in plain single crochet already holds up better than a lacier stitch, but a fully loaded market bag will still stretch it over time. For a strap that keeps its shape indefinitely, crochet over a length of cotton cord, twine, or even packing string as you work each row — the cord becomes an invisible core inside the stitches and takes the weight instead of the yarn.
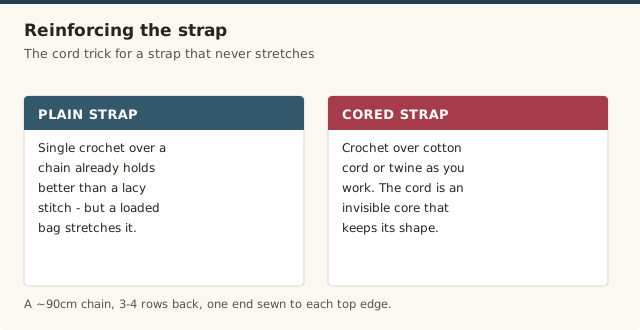
If the strap has already stretched on a finished bag, you can often fix it without unraveling anything: sew a length of cord along the inside of the strap by hand, tacking it down every few centimeters so it can't shift, which gives an already-finished strap the same support a corded one would have had from the start.
Optional: lining
Granny squares have natural gaps between stitches, so a fabric lining sewn in by hand will keep small items from slipping through — cut a rectangle to match your bag's folded dimensions plus a small seam allowance.
Common mistakes & fixes
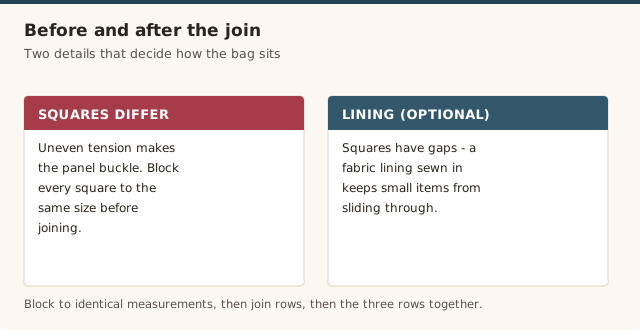
Fix: block every square to the same measurements before joining (see our blocking guide) — even a light steam-block is enough to even out small differences in tension between squares.
Fix: work the seam through both loops of each stitch rather than just the outer loop, and take an extra stitch or two at each corner junction where four seam lines converge.
Fix: crochet the strap over a cord core as described above, or switch to a stiffer cotton yarn for the strap rows even if the rest of the bag uses a softer blend.
A demonstration of turning granny squares into a finished bag, useful for seeing the assembly and lining steps.
Frequently asked questions
What yarn works best for a market bag?
Cotton or a cotton blend holds its shape and washes well; wool alone tends to stretch under the weight of groceries.
Do I need to line it?
Not required, but recommended if you plan to carry small or loose items, since granny squares have open gaps.
Can I make it bigger?
Yes — use a 4×4 grid of squares instead of 3×3, or work more rounds per square to make each one larger.
How do I keep the strap from stretching under weight?
Work the strap in single crochet rather than a lacier stitch, and crochet it over a length of cotton cord or twine for a core that won't sag once the bag is loaded.
How do I wash a granny square market bag?
Hand wash cotton versions in cool water and lay flat to dry; a mostly-cotton bag can usually go on a gentle machine cycle inside a mesh bag, but check the yarn label first if any wool is blended in.
How many granny squares do I need for a bag?
Nine — a 3 by 3 grid folds into the bag shape with the bottom row as the base and the two side columns as the sides. For a larger tote, work a 4 by 4 grid of sixteen squares instead.
Why does my granny square bag lean to one side?
It's almost always because the squares were joined before being checked for size. Block every square to the same measurements before seaming, and the finished bag will sit square instead of leaning.
CrochetGuides is a participant in the Amazon Services LLC Associates Program. As an Amazon Associate we earn from qualifying purchases, at no extra cost to you.