Free Amigurumi Dragon Pattern (Spikes & Wings)
A small sitting amigurumi dragon with a row of standing back spikes, folded scalloped wings, and a gradually tapering tail.
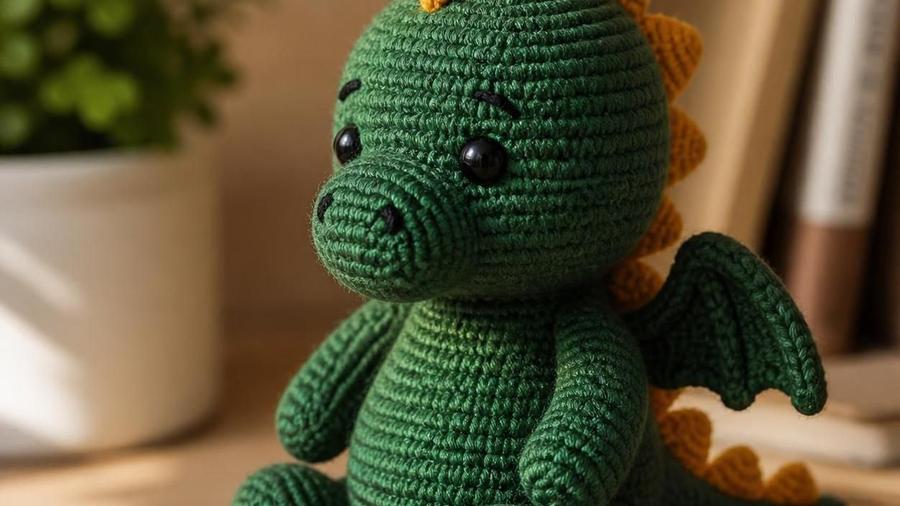
My first dragon's spikes lay flat against its back within about a day of finishing the toy, which is a strange thing to have happen to stitches that were technically already attached. I'd crocheted each spike as a completely flat, unstuffed triangle and sewn it directly onto the spine, assuming the shape alone would be enough to make it stand up. It wasn't. A flat piece of fabric, no matter how triangular, doesn't have anywhere near the structure needed to hold itself upright against gravity and the everyday handling a toy gets.
The fix turned out to be almost embarrassingly simple: stuff the base of each spike lightly before sewing it on. That small amount of fill gives the spike enough body to stand rather than flop, and it's the single detail this pattern is built around getting right. Alongside the spikes, this pattern also covers the folded wings, stiffened at the edge so they hold an open position without wire, and the gradually tapering tail that gives the whole silhouette its dragon-like proportions rather than reading as a stubby lizard.
A dragon is a genuinely fun step up from a standard round-bodied amigurumi animal, since it introduces three separate techniques, the standing spikes, the structured wings, and the long taper, all in one project, without any of them individually being difficult once you know the specific trick each one depends on.
Materials
- About 100–130 yards of green (or purple/blue) worsted-weight yarn for the body
- About 20–30 yards of gold or orange worsted-weight yarn for the spikes and wings
- Small amount of dark yarn for embroidering eyebrows and nostrils
- 3.5mm hook
- Safety eyes, 10-12mm
- Polyester fiberfill, yarn needle, scissors, pins, stitch marker
Abbreviations (US terms)
| Abbr. | Means |
|---|---|
| sc | Single crochet |
| inc | Increase (2 sc in same st) |
| dec | Decrease (invisible dec) |
| slst | Slip stitch |
See our abbreviations glossary and invisible decrease guide.
Notes
- Worked in continuous rounds for the body, tail, and legs; the wings and spikes are worked flat and sewn on afterward.
- Stuff each spike's base lightly before attaching, an unstuffed spike will not stand upright.
- Mark all spike-attachment points along the spine with pins before sewing any of them permanently.
Pattern
Magic ring, 6 sc (6). Rnd 2: inc every st (12). Rnd 3: *sc, inc* around (18). Rnd 4: *sc 2, inc* around (24). Work even at 24 for 6 rounds (this forms the body). Begin the tail taper: *sc 6, dec* around (21), work 2 rounds even, *sc 5, dec* (18), work 2 rounds even, continuing this gradual pattern of one decrease round followed by two even rounds until you reach 6 sts, then work even for several more rounds for the tail tip. Stuff as you go, fasten off, cinch closed.
Magic ring, 6 sc (6). Inc every st (12). *sc, inc* (18). *sc 2, inc* (24). Work even for 4 rounds. Decrease: *sc 2, dec* (18), *sc, dec* (12), stuff, dec around (6). Fasten off, sew to the front of the body.
Ch 2. Row 1: 3 sc in 2nd ch from hook (3). Row 2: inc, sc, inc (5). Row 3: dec, sc, dec (3). Fasten off leaving a tail. Lightly stuff the base of each triangle before sewing.
Ch 8. Row 1: sc across (7). Rows 2-6: sc even, increasing 1 st at the outer edge every other row to fan the shape (finishing around 10-11 sts). Work a scalloped edge along the outer curve: *3 dc in next st, skip 1 st, slst in next* repeat along the edge. Fasten off. Work one more round of slip stitch or reverse single crochet around the entire outer edge for stiffness.
Magic ring, 5 sc (5). Work even 3-4 rounds. Stuff lightly, close, and attach evenly along the underside of the body.
Pin all spike positions along the spine from just behind the head to the tail tip, evenly spaced, before sewing any of them. Sew each spike on with its stuffed base against the body. Sew the wings to the upper back, angled slightly outward and upward. Insert safety eyes, then embroider eyebrows angled downward and inward, and small nostril marks at the tip of the snout.
Getting the spikes to stand up
A spike's ability to stand upright comes almost entirely from what's inside it, not from how it's shaped or attached. A flat, unstuffed triangle has no resistance to gravity or to being brushed against during normal handling, so even a spike sewn on with a perfectly secure stitch will still fold over within the first few times the toy is picked up. Working a small amount of fiberfill into just the base of each spike before sewing it on solves this directly, giving that base enough body to hold the triangle vertical while the tip stays naturally soft and slightly pointed.
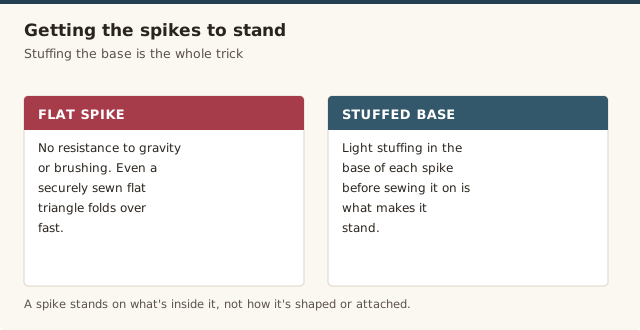
Consistent spacing matters as much as the spikes' internal structure. Mark every attachment point with a pin along the spine before sewing a single spike permanently, working from just behind the head to the tip of the tail. Sewing spikes on one at a time as you finish each one, without a full spacing plan, is what produces the uneven gaps and bunching that make a spike row look accidental rather than deliberate.
If a finished spike still leans to one side after attaching it, it's almost always a sewing-angle issue rather than a stuffing issue: recheck that the stitching along its base runs perpendicular to the spine rather than at a slant, since even a slightly angled attachment will pull the whole spike over to one side once the yarn tension settles.
Shaping wings that hold their pose
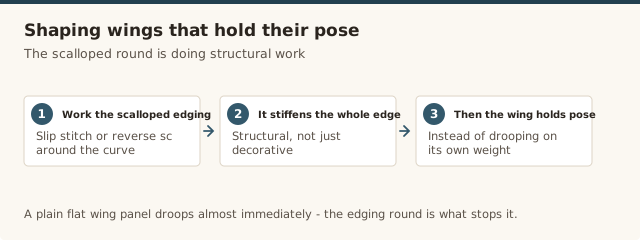
The scalloped edging round is doing more structural work here than it might look like. A plain flat wing panel, even one shaped correctly, is soft enough that it will droop under its own weight almost immediately after being sewn on. Working a round of slip stitch or reverse single crochet around the entire outer curve after the scallops are finished tightens and thickens that edge just enough to give the wing real resistance to drooping, without needing to thread wire through it.
If you want the wings poseable rather than fixed in one open position, a short pipe-cleaner segment worked along the top edge before that stiffening round gives you the option to bend them closer to the body or fan them out further, and the pose will hold on its own afterward. This is genuinely optional: the edging round alone is enough for a wing that simply stays open, the wire is only needed if you want to actively change the angle from time to time.
Attach both wings at the same height and angle on the back, checking from directly behind the finished piece rather than from the side, since a mismatch that's invisible in profile often becomes obvious from a straight-on view. A small piece of scrap yarn threaded through both wing bases temporarily, before the final sewing, is a useful way to confirm they're level before committing to permanent stitches.
Wings and spikes troubleshooting
Fix: work each spike with a firm enough stitch count and stuff the base of each one lightly before sewing it on, rather than leaving them completely flat.
Fix: work a round of slip stitch or reverse single crochet around the wing's outer edge after finishing, which stiffens the edge enough to hold its shape without needing wire.
Fix: mark the exact spike-attachment points with pins evenly spaced before sewing any of them, rather than attaching each one immediately after making it.
Fix: the eyebrow embroidery angle matters more than expected here, angle them slightly downward and inward for a classic dragon expression rather than straight horizontal lines.
Fix: follow the gradual decrease schedule spread over many rounds rather than a fast taper, since a long tapered tail is a key part of the dragon silhouette.
Our pick for crisp spikes
Premier Yarns Deborah Norville Everyday, Gold
A genuinely saturated gold, rather than a muted or pale yellow, gives the spike row and wings the crisp contrast against a green or blue body that makes them read as a deliberate feature instead of an afterthought.
View on Amazon →Once you're comfortable with this dragon's construction, the same spike and wing techniques transfer directly to other fantasy amigurumi subjects, a spiked back works just as well on a small dinosaur, and a stiffened scalloped wing edge applies equally to a bat or a gryphon-style design if you want to experiment further after finishing this pattern.
Amigurumi dragon FAQ
How do I make the spikes stand up properly?
Work each spike with the full stitch count specified rather than shortening it, and lightly stuff the base of each one before sewing it in place. A spike with no stuffing at all tends to fold flat against the body once sewn, while a lightly stuffed base gives it enough structure to stand upright along the spine.
What colors work well for the wings versus the body?
A main body color in green, purple, or blue pairs well with a lighter or metallic-look contrast for the wing membranes and spike row, since the contrast is what makes both features read clearly rather than blending into the body. Avoid using the exact same shade for the wings as the body, even a subtly different tone helps them stand out as a distinct feature.
Can the wings be made poseable?
Yes, a short pipe-cleaner segment worked along the top edge of each wing before the edging round lets you angle them outward or fold them closer to the body and have the pose hold. This is optional, the edging-round stiffening technique alone is usually enough to keep the wings upright without wire.
How much yarn does the whole project take?
About 100-130 yards of the main body color and 20-30 yards of the contrast spike-and-wing color, depending on how large you make the wings, plus a small amount of dark yarn for the eyebrow and nostril embroidery.
Is this pattern beginner-friendly or better for someone with some amigurumi experience?
This is a better second or third amigurumi project rather than a genuine first one. The tapering tail and the spike attachment are both manageable with basic amigurumi skills already in place, but they're fiddlier than a single round body and benefit from already being comfortable with increases, decreases, and sewing pieces together.
Can the dragon be made without wings for an easier first attempt?
Yes, the body, tail, legs, and spike row all work as a complete dragon on their own, and skipping the wings removes the fiddliest single component of the pattern. The spikes alone are still enough to make the finished piece clearly read as a dragon rather than a generic lizard.
CrochetGuides is a participant in the Amazon Services LLC Associates Program. As an Amazon Associate we earn from qualifying purchases, at no extra cost to you.