Free Crochet Bandana Pattern for Beginners
A triangle headwrap built entirely from double crochet, with ties long enough to knot at the back or the front.
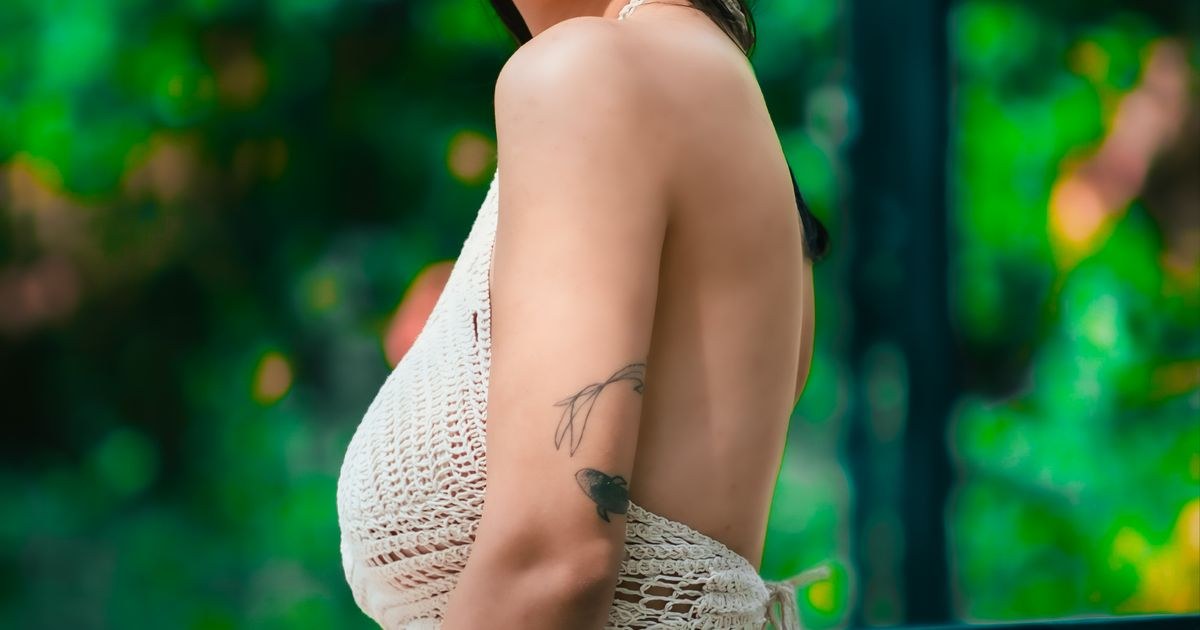
I taught a summer class a few years back where every single student came in wanting to make a bandana, mostly because they'd seen the granny-triangle ones online and assumed they'd be too hard. What surprised them was how little there was to learn: one stitch, a triangle that grows by two stitches every row, and a couple of long chains for ties. By the end of the afternoon, half of them had started a second one for a friend. That's the thing I love about this crochet bandana pattern — it looks like something you'd buy, but it's built from the same double crochet you learn in your first week, and it teaches you increases without ever feeling like homework.
The shape is what makes it forgiving. A bandana grows from a single point outward, so you can stop as soon as it's wide enough for the head it's meant for, and the ties make the final fit adjustable. There's no exact row count to hit and no finished width to fret over. That built-in wiggle room is why I reach for it whenever someone wants their first wearable.
Materials
- 1–2 skeins worsted-weight cotton or cotton-blend yarn (about 150–200 yards)
- 5.0mm (US size H) crochet hook
- Scissors
- Yarn needle, for weaving in ends
Abbreviations (US terms)
| Abbr. | Means |
|---|---|
| ch | Chain |
| dc | Double crochet |
| st(s) | Stitch(es) |
| inc | 2 dc in same stitch (increase) |
New to abbreviations? Our abbreviations glossary covers US and UK terms side by side.
Gauge
Exact gauge isn't critical here — the triangle's finished width just depends on how many rows you work. As a rough guide, 12 dc and 8 rows measures about 4in / 10cm square with a 5.0mm hook and worsted yarn. If the double crochet stitch itself still feels new, our basic stitches guide walks through it step by step.
Notes
- Written in US terms. See our abbreviations glossary if you usually work in UK terms.
- This pattern makes one adult size with an 18-row triangle. For a child size, stop increasing after 12–13 rows instead.
- Ties are worked as simple chains, then reinforced with a row of single crochet for extra strength against repeated knotting.
Pattern
Chain 4. Dc in the 4th chain from hook. (2 sts)

Ch 3 (counts as first dc), turn. Inc in first st, dc in next st, inc in last st. (4 sts)
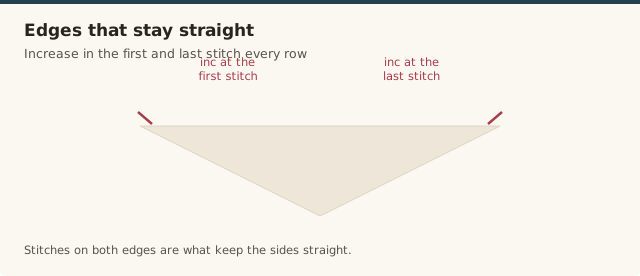
Ch 3 (counts as first dc), turn. Inc in first st, dc across to last st, inc in last st. Each row adds 2 sts. (6, 8, 10 sts... continuing by 2 each row until row 18)
By row 18, you should have 36 sts across the widest edge. Fasten off, leaving a long tail for the border.
Rejoin yarn at one bottom corner (a short point of the triangle). Chain 60 for the first tie. Sl st back into the same corner to reinforce, then sc evenly along the entire diagonal edge, across the wide top edge, and down the other diagonal edge to the opposite corner. Chain 60 for the second tie, then sl st back into that corner.
Fasten off and weave in all ends with a yarn needle. Tie can be worn knotted at the back of the head, or crossed and tied at the front.
Yarn & colour choice
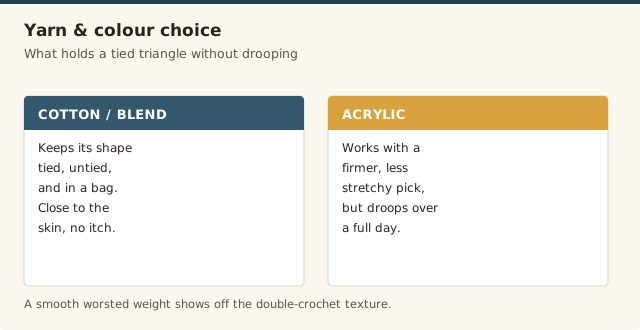
Cotton or a cotton blend is my first pick for a bandana because it holds its shape through being tied, untied, and shoved in a bag, and it sits close to the skin without itching. A smooth worsted weight also shows off the simple double-crochet texture rather than hiding it in a halo. Acrylic works too if you pick a firmer, less stretchy one, but it'll droop a little more over a full day of wear. For colour, a single solid or a gentle two-colour stripe is the most useful — it goes with everything and lets the triangle shape do the talking. If the yarn label's numbers are still a mystery, our yarn weight guide clears it up.
Sizing it for adults & children
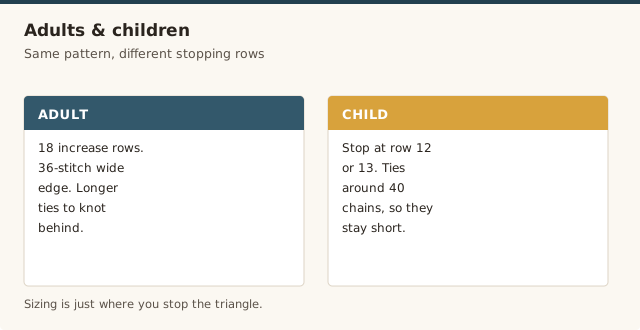
Because the triangle grows two stitches every row, sizing is just a matter of where you stop. The adult version works 18 increase rows for a 36-stitch wide edge; for a child, stop at row 12 or 13 and shorten each tie to about 40 chains. If you're making one without a head to measure, hold the widest edge up against a bandana or scarf you already own and stop when it matches. The ties do the final adjusting, so a slightly generous triangle is always more wearable than one that's a touch small. For a deeper dive on how increases control size, our guide to fixing project size walks through the maths.
Blocking, care & styling
A cotton bandana benefits from a light block to set the point and flatten the diagonal edges. Pin it out to a neat triangle, mist or steam it, and let it dry — our blocking guide covers the method. Wash it gently in cool water and dry it flat so the ties don't stretch out of shape. For styling, it ties at the back of the neck for a classic look or crosses and ties at the front like a kerchief; either way, the border of single crochet along the edges is what keeps it from curling. If the ends of the ties look sparse, a small tassel or a few extra stitches tidies them up.
Cotton worsted-weight yarn, 3-pack
Cotton holds its shape well for something tied and untied repeatedly, and the light colours make it easy to see your increases as you count rows.
View on Amazon →A walkthrough of a triangular bandana shape, useful for seeing the increases that build the width.
Common mistakes & fixes
Frequently asked questions
How do I make a crochet bandana bigger or smaller?
Work more or fewer increase rows before starting the ties. Each additional row adds width to the triangle, so stop increasing once the widest edge measures close to your desired finished width.
What yarn works best for a crochet bandana?
A cotton or cotton-blend worsted-weight yarn holds its shape well and doesn't stretch out of shape the way some acrylics can, which matters for something tied and worn repeatedly.
Can I make a matching bandana for a child and an adult?
Yes, this pattern scales down easily for a child size by working fewer increase rows before starting the ties, and shortening the tie length by a few inches.
How long should the ties be on a crochet bandana?
About 60 chains for an adult gives enough length to knot at the back or cross and tie at the front. For a child size, shorten each tie to about 40 chains before working the border.
Can I use acrylic yarn for a crochet bandana?
You can, but cotton or a cotton blend is the better choice, since it holds its shape and doesn't stretch out the way some acrylics can with repeated tying and untying. If you use acrylic, choose a firmer, less stretchy one and block it lightly when finished.
How do I block a crochet bandana?
Pin it out into a neat triangle, mist or steam it lightly, and let it dry completely before unpinning. Blocking sets the point and flattens the diagonal edges so the bandana hangs properly.
How do I keep the ties from curling?
Work a row of single crochet back along each chain tie. That reinforcing pass gives the ties body so they lie flat and hold a knot instead of twisting into a rope.
CrochetGuides is a participant in the Amazon Services LLC Associates Program. As an Amazon Associate we earn from qualifying purchases, at no extra cost to you.