10 Crochet Bandana Styles You Can Try
From classic granny triangles to lace and appliqué designs — ten directions to take your next bandana project.
When I first got into bandanas, I made the same plain triangle three times in a row before I realised the shape was the real discovery — everything else is just what you layer on top of it. A friend showed me a lace one she'd made, and I nearly didn't recognise it as the same construction, just with airier stitches and a picot edge. That's how I ended up collecting these ten styles instead of writing one more tutorial: once you can make the triangle, the only limit is which stitch, colour, or finish you want to try next. Some of these are beginner-friendly and a few will stretch you, but they all start from the same three points.
The thing that surprised me most is how much the small finishing choices matter — a bandana lives or dies on its ties and its edge. Too-short ties mean you can't knot it comfortably, and an unblocked lace pattern just looks like a crumpled tangle. Once I started treating the ties as part of the design rather than an afterthought, my bandanas went from "a triangle I made" to something people asked me where I'd bought. That's the real through-line of this list: same shape, wildly different finishes.
Classic granny triangle
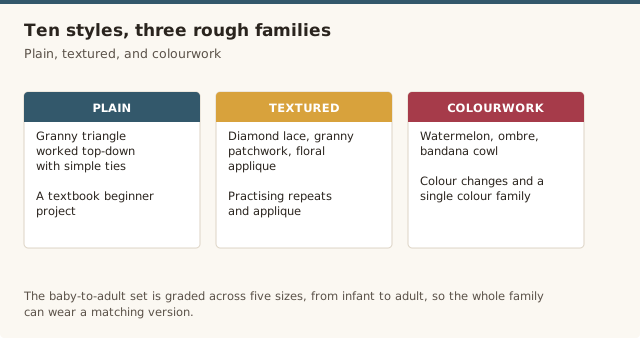
The most common starting point: a plain granny stitch triangle worked top-down, finished with simple ties. A textbook beginner project that delivers a clean, polished result quickly.
See the pattern at The Funky Stitch →Diamond lace bandana
A more advanced take using a diamond lace stitch and optional picot edging. The designer includes a pixel grid to help with row counting, which makes the stitch pattern easier to follow than it looks.
See the pattern at VivCrochets →Granny square patchwork
Instead of one continuous triangle, this style joins several granny squares and half-squares together, so each colour block can be a different shade for a patchwork look.
See the pattern at Crocht →Floral appliqué bandana
A plain triangle base with a separately crocheted flower or leaf motif sewn on afterward — a good way to practise small appliqué pieces without committing to a whole floral design.
See the pattern at Crocht →Watermelon bandana
A playful colourwork version using pink, green, and black sections to suggest a watermelon slice. A fun way to practise colour changes on a small, low-commitment project.
See the pattern at Smart Knit Crocheting →Ombre bandana
Worked in a single colour family that gradually shifts from light to dark across the triangle, using graduated skeins or hand-changing yarn every few rows.
See the pattern at Pattern Center →Bandana cowl
A hybrid piece that combines the look of a bandana with the closed loop of a cowl, so it slips over the head rather than tying — useful for anyone who finds knots fiddly.
See the pattern at DIY Make To →Boho headscarf with built-in ties
A romantic, fingering-weight version designed specifically to sit low across the forehead, with ties long enough to knot at the nape for a relaxed, festival-style look.
See the pattern at Joy of Motion Crochet →Baby-to-adult sized set
A lacy pattern graded across five sizes, from infant to adult, so the whole family can wear a matching version — a nice project if you're making several at once.
See the pattern at Joy of Motion Crochet →Our own beginner-friendly version
If most of the styles above feel like a stretch right now, our own bandana pattern sticks to plain double crochet throughout — no lace repeats or colour changes to track, just a straightforward triangle and two ties.
Get our free bandana pattern →Sizing and ties that stay put
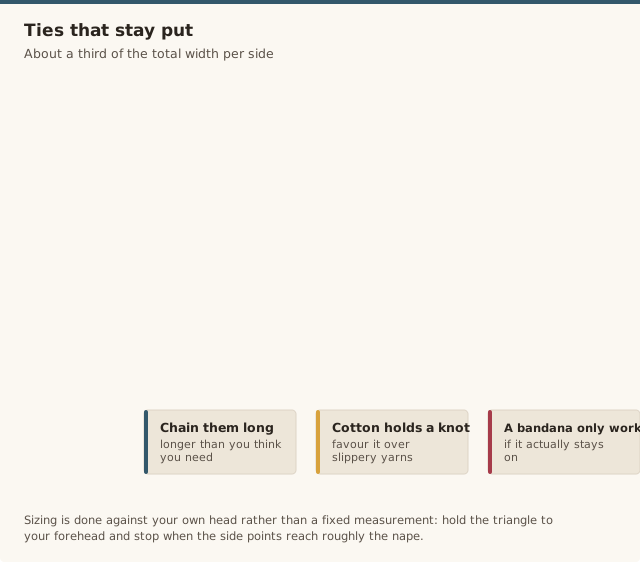
A bandana only works if it actually stays on, and the ties are the usual weak point. Chain them longer than you think you need — roughly a third of the total width on each side is a good starting point — so there's enough length to tie comfortably at the nape or under the chin without the knot sitting tight against your skin. Cotton ties hold a knot better than slippery yarns, which is part of why cotton is the default choice for bandanas in the first place.
The main triangle itself is sized by how many increase rows you work, so the easiest way to get a fit you like is to measure as you go: hold the triangle up against your forehead and stop when the two points reach roughly the nape of your neck. If it comes out slightly small, a wider edging round or a picot border adds a little more width without redoing the whole piece.
Blocking and care for openwork styles
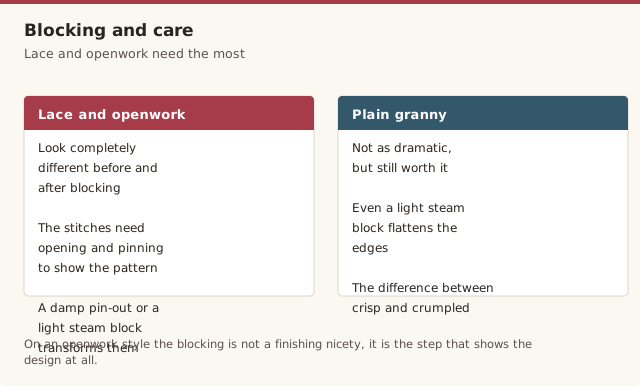
Lace and openwork bandanas look completely different before and after blocking, because the stitches need to be opened up and pinned to show their pattern. A light steam block or a damp pin-out transforms a lacy diamond bandana from a crumpled mesh into the crisp geometric design it's meant to be. The guide to blocking crochet walks through the exact method, and it's worth doing even for the plainer granny styles.
Between wears, hand-wash your bandana in cool water and lay it flat to dry so the ties don't stretch. Cotton keeps its shape best; if you used a bamboo or fingering-weight blend for drape, expect a little more stretch and reshape it while it's damp. Fold it rather than hanging it, so the ties don't slowly pull the whole triangle out of line.
Beginner vs advanced styles
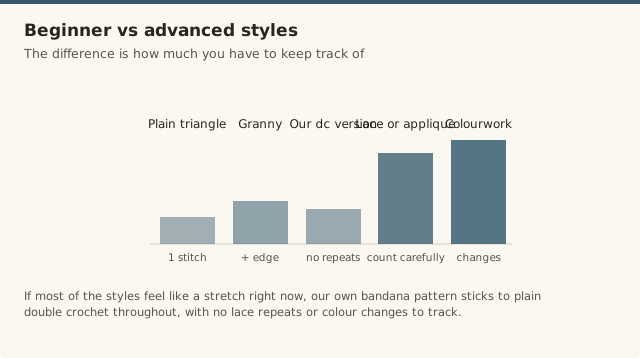
If you're new, the difference between these ten styles is mostly about how much you have to keep track of. A plain granny triangle or a double-crochet version uses one stitch and a simple increase at the edge, so you can watch the shape grow without counting a lace repeat. Lace and colourwork styles, on the other hand, ask you to hold a stitch pattern and a shape at the same time, which is genuinely harder than it looks.
My advice is to make the plain version first, then graduate to the diamond lace or the watermelon colourwork once the triangle feels automatic. Each style is a small, contained skill — an appliqué flower here, a picot edge there — so you can add one new technique per project rather than trying to learn them all at once. A plain double-crochet triangle is the low-stakes version to start from, and the corner-increase logic is the same one you'll meet in our granny square tutorial, just worked into a triangle instead of a square.
Common mistakes & fixes
Fix: a missed or misplaced increase is almost always the cause. Mark the centre and the two outer corners, and increase in the same places on every row so the triangle grows evenly from all three points.
Fix: chain the ties generously and test the length against your own head before you fasten off. You can always add a chain extension to an existing tie by joining new yarn at the end, so a too-short tie is never fatal.
Fix: an edging round of single crochet or a simple border helps the piece sit flat, and a light block after finishing relaxes any stubborn curl in the outer rows.
Fix: it's not you — holding a lace repeat and a triangle at once is a genuine step up. Put it down and make a plain granny triangle first, then return to the lace once the basic shape feels automatic.
Fix: use cotton or a cotton blend, which holds its shape far better than acrylic or bamboo alone. Wash and reshape it flat, and avoid hanging it by the ties, which slowly pulls the whole triangle out of line.
Fix: measure as you go rather than trusting a fixed row count, since everyone's gauge and head differ. Hold the triangle against your forehead and stop when the points reach the nape of your neck.
Frequently asked questions
What's the easiest crochet bandana pattern for beginners?
A plain granny triangle or our own double-crochet bandana is the easiest place to start, since both use only basic stitches and simple increases. Avoid lace or appliqué styles until you're comfortable with the basic triangle shape.
Which yarn is best for a crochet bandana?
Cotton or a cotton-blend worsted-weight yarn holds its shape best for a bandana, since it doesn't stretch out of shape with repeated tying. For a drapey, festival-style look, a fingering-weight cotton or bamboo blend works well.
How long should the ties be?
Aim for roughly a third of the triangle's total width on each side, which gives enough length to knot comfortably at the nape or under the chin without pulling tight. Cotton ties hold a knot better than slippery yarns, so favour cotton for the ties even if you use something else for the body.
Do I need to block a crochet bandana?
For lace and openwork styles, yes — blocking opens up the stitch pattern and is the difference between a crisp design and a crumpled mesh. Even plain granny styles benefit from a light steam block to flatten the edges, and it only takes a few minutes.
What size should a bandana be?
Rather than a fixed measurement, size it to your own head: hold the triangle against your forehead as you work and stop when the two side points reach roughly the nape of your neck. If it comes out slightly small, a wider edging or picot border adds a little extra width.
Can I use a different stitch for the triangle?
Yes — the triangle shape works with almost any stitch, from solid double crochet to an open lace repeat. The only thing that changes is how carefully you count, since a lace or textured stitch asks you to keep the pattern even while the triangle grows.
Whichever style you choose, the shape stays the same. For lace and openwork designs especially, a light block after finishing helps the stitch pattern open up — see our guide to blocking crochet for the how-to.
CrochetGuides is a participant in the Amazon Services LLC Associates Program. As an Amazon Associate we earn from qualifying purchases, at no extra cost to you. This roundup links to patterns created by other designers; full credit and instructions are available at each source linked above.