A structured bucket hat with a flat crown, straight sides, and a brim that actually flares outward, worked in cotton yarn.
Updated 2026 · US terms · Adult and child sizing notes included
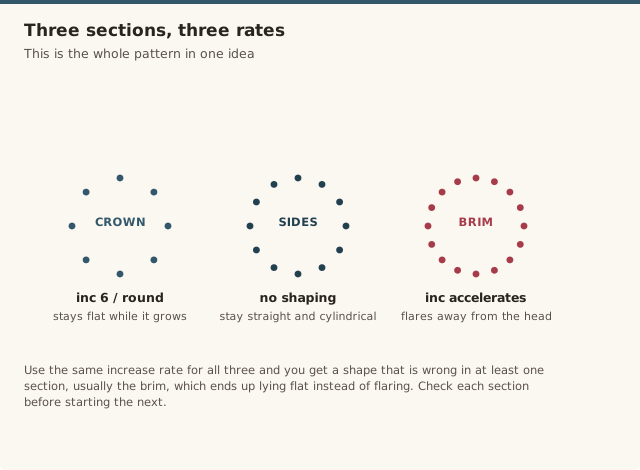
Three separate sections make up a bucket hat, and each one needs a completely different approach to its increases, which is exactly why so many first attempts end up looking wrong somewhere without the maker being sure why. The crown needs the standard flat-circle rate to stay flat. The sides need zero increases at all to stay straight and cylindrical. The brim needs a rate higher than the crown's to flare outward rather than lying flat against the head. Use the same increase rate for all three and you get a shape that's wrong in at least one section, usually the brim, which ends up lying flat instead of flaring.
This pattern walks through all three sections with their distinct stitch-count rules, plus the fiber choice that matters more here than in almost any other hat pattern on the site, since a droopy acrylic bucket hat completely defeats the point of the style.
It's worth thinking of this pattern as three small separate projects stacked on top of each other rather than one continuous shape, since each section really does need to be evaluated and corrected on its own terms before moving to the next. Checking the crown's flatness before starting the sides, and the sides' straightness before starting the brim, catches a shaping problem while it's still a five-minute fix rather than something you only notice once the whole hat is finished and the brim inexplicably won't sit right.
Worked in continuous rounds throughout; place a marker at the start of each round.
The crown uses the standard flat-circle increase rate; see our flat circle technique guide for the underlying math.
Gauge swatch recommended before starting, since cotton's lower stretch means a hook size adjustment is common.
Pattern
Crown, rounds 1-8
Magic ring, 6 sc into ring (6). Rnd 2: inc in every st (12). Continue increasing by 6 sc every round, following the standard flat-circle rate, through round 8 (48 sts), or until the crown's diameter matches your head circumference divided by roughly 3.14.
Sides, rounds 9-15
Work 7 rounds completely even at 48 sts, no increases or decreases at all. This forms the straight, cylindrical sides. Adjust the number of even rounds up or down to change the hat's overall depth, and count stitches at the end of every round to catch a stray increase before it compounds.
Brim, rounds 16-19
Rnd 16: *sc 5, inc* around (56). Rnd 17: *sc 6, inc* around (64). Rnd 18: *sc 7, inc* around (72). Rnd 19: *sc 8, inc* around (80). Fasten off and weave in ends. This higher, accelerating increase rate is what makes the brim flare outward rather than lying flat, so resist the urge to slow the rate down partway through.
Getting the brim to flare, not flop
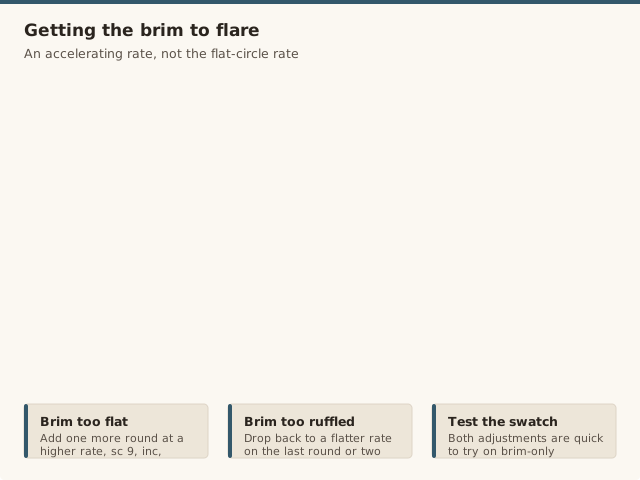
The crown and the brim look similar on paper, both are increase rounds, but they need meaningfully different rates to do their separate jobs. The crown's job is to stay flat while growing wide enough to cover the top of the head, which needs the standard 6-stitches-per-round rate. The brim's job is to angle away from the head rather than staying flat, which needs an accelerating rate, more new stitches added each round than the round before, so the fabric is forced outward and upward rather than settling flat.
If your brim still lies too flat after working the schedule above, add one more round at an even higher rate (*sc 9, inc* for round 20) before fastening off. If it flares too aggressively and looks ruffled rather than gently curved, drop back to a flatter rate on the last round or two. Either adjustment is easy to test on a small swatch of just the brim section before committing to the full hat.
A finishing round of slip stitch or a single round of reverse single crochet worked around the very outer edge of the brim, after the increase rounds are done, gives the edge a cleaner, slightly firmer finish and helps hide any minor unevenness left from the transition between increase rounds. This is a purely cosmetic step, but it's the kind of small detail that makes a hand-crafted hat look more deliberately finished rather than just stopped.
Why cotton matters here
Acrylic yarn has a natural softness and drape that works beautifully for a beanie or a scarf, but that same drape is exactly the wrong property for a hat that needs its brim to hold a flared, structured shape against gravity. Cotton, and cotton-blend yarns generally, have much less give and more body, which lets the increase-rate shaping actually do its job rather than being undone by the yarn sagging under its own weight within a day of finishing.
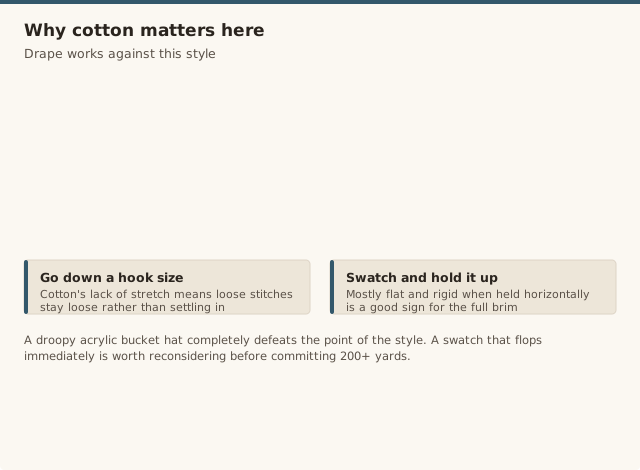
The tradeoff is that cotton has less stretch than acrylic, which means a snug gauge swatch matters more here than in a stretchier-yarn project. Go down one hook size from what the yarn label suggests if your stitches look loose or gappy, since cotton's lack of give means loose stitches stay loose rather than settling in with wear the way an acrylic hat might.
If you'd rather avoid cotton entirely, whether for cost or fiber-sensitivity reasons, a firm wool or wool-blend worsted is the next best option, since wool also has more natural body than acrylic and holds a blocked shape reasonably well. A cotton-acrylic blend splits the difference: more structure than pure acrylic, softer and slightly more affordable than pure cotton, and a reasonable compromise if 100% cotton isn't available in your preferred colorway.
Whichever fiber you settle on, a quick swatch test tells you more than reading the label ever will: work a small square in your chosen yarn and hook, then hold one edge up and see how much it droops under its own weight. A swatch that stays mostly flat and rigid when held horizontally is a good sign the full brim will hold its flare; one that flops immediately is worth reconsidering before committing 200+ yards to the full hat.
Styling and seasonal wear
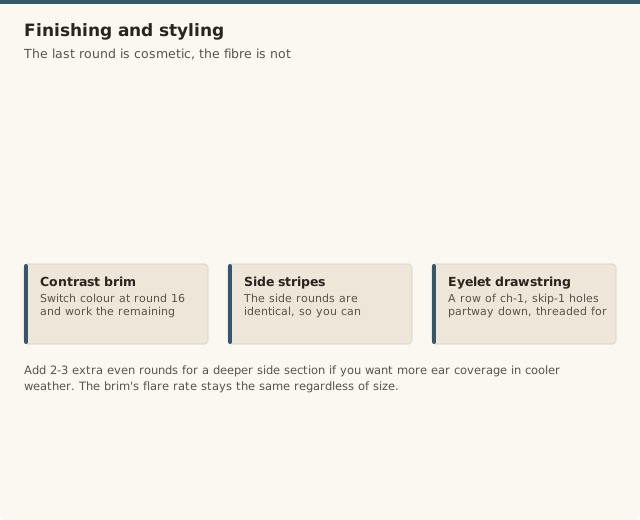
A bucket hat's flared brim is also its main practical feature: unlike a beanie, it shades the face and the back of the neck, which is part of why cotton's breathability matters so much for genuine warm-weather wear rather than just aesthetic reasons. For cooler-weather styling, a slightly heavier wool-cotton blend and a deeper side section (add 2-3 extra even rounds) gives more ear coverage while keeping the same recognizable silhouette.
A contrast-color brim, worked in a different shade from the crown and sides, is an easy way to add visual interest without changing any of the shaping. Simply switch colors at the start of the brim section (round 16 in the pattern above) and work the remaining increase rounds in the new color, weaving in the color-change tail as you go.
A single stripe or two worked partway through the side section is another low-effort variation: since the side rounds are all identical (even, no shaping), you can switch colors on any round in that section without affecting the fit or structure at all. This is a good use for leftover partial skeins from other projects in the same yarn weight, since only a round or two of contrast color is needed to make a visible difference.
Shaping mistakes to avoid
Mistake: the crown comes out as a ruffled, wavy circle instead of flat.
Fix: stick to the standard flat-circle increase rate, adding extra increases "to be safe" is what causes ruffling.
Mistake: the sides pucker or curve inward instead of staying straight.
Fix: the side rounds should have zero increases or decreases, recheck the stitch count with a marker every round to catch a stray increase early.
Mistake: the brim lies flat against the head instead of flaring out.
Fix: the brim rounds need a higher increase rate than the crown rounds specifically, using the same rate for both is the most common reason for a floppy, non-flared brim.
Mistake: the finished hat is noticeably too tight or too loose.
Fix: measure head circumference before starting and do a small gauge swatch, then adjust the crown's total round count up or down rather than guessing.
Mistake: cotton yarn stitches look uneven or loose compared to acrylic.
Fix: cotton has less stretch/give than acrylic, so go down one hook size from what's printed on the yarn label for tighter, more even stitches.
Our pick for structure
Yarn
Lion Brand 24/7 Cotton
A sturdy, worsted-weight 100% cotton with good stitch definition and enough body to hold the crown-sides-brim shaping without drooping, making it a reliable first choice for this pattern.
Is cotton or acrylic yarn better for a hat that needs to hold its shape?
Cotton or a cotton-blend worsted yarn holds a bucket hat's shape and breathes much better than acrylic, which tends to droop, especially in warm weather when a bucket hat gets the most wear. Acrylic can work for a decorative, less structured version, but cotton is the better default choice.
How do I measure head size accurately before starting?
Wrap a soft tape measure around the head at the widest point, just above the ears and eyebrows, and note that circumference. Compare it to the crown's finished diameter (circumference divided by roughly 3.14) at whichever round you're considering stopping the crown increases, checking the fit against the actual number rather than a general size guess.
Can this be made in both an adult and a child size?
Yes, stop the crown increases one full round earlier for a child's head, and work 1-2 fewer even rounds on the sides for a shorter, better-proportioned child version. The brim's flare rate stays the same regardless of size.
How do I stiffen the brim further if it still doesn't hold up?
A light spray starch on the brim after blocking adds noticeable extra hold. For a firmer option, tuck a thin round of fusible interfacing inside the brim's edge before the final round, which adds structure without being visible from outside.
Can a drawstring or adjustable band be added?
Yes, work a row of eyelet holes (ch 1, skip 1 st) partway down the side section, then thread a crocheted chain or purchased cord drawstring through the eyelets for an adjustable fit.
Is the hat reversible if two colors are used?
Not with a standard single-layer construction, since the wrong side of single crochet looks visibly different from the right side. A fully reversible version would need a double-layer construction with two hats worked separately and joined at the brim, which is a more advanced project.
Nora has been teaching crochet for 12 years, from absolute beginners to people coming back to the craft after decades away. She started CrochetGuides to write the clear, honest instructions she wishes she'd had when she was learning — the ones that actually work the first time.
CrochetGuides is a participant in the Amazon Services LLC Associates Program. As an Amazon Associate we earn from qualifying purchases, at no extra cost to you.