Crochet Elf Hat Pattern
A long, pointed crochet elf hat with a folded cuff and a soft pom-pom at the tip.
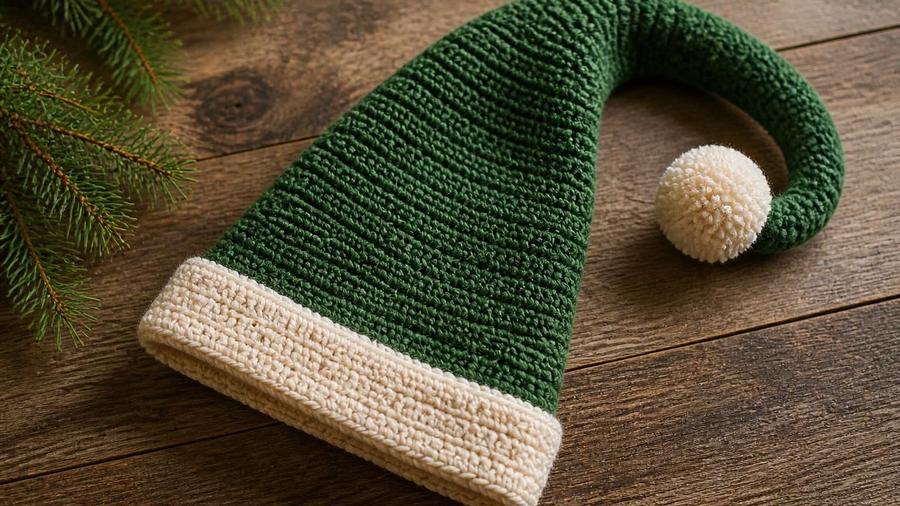
In my classes, a crochet elf hat is what I suggest when someone wants to make something wearable but isn't ready for the sizing maths of a full sweater. The shape does the work for you — a magic-ring crown, some steady rounds, and a tip that curls because you decrease along just one side. I'll never forget a mum who made matching elf hats for her two children the week before Christmas, measuring each little head against the crown as she went. The second hat was finished after midnight with slightly lopsided pom-poms, and she brought the photos to class beaming. That's what I love about this pattern: it looks far trickier than it is.
I still have the first one I made for my own daughter, with a point I made a touch too long and couldn't bring myself to trim. It flopped comically over one shoulder for a whole winter, and she'd fling the tip back like a scarf every time she ran indoors. The pattern forgives that kind of over-enthusiasm — it's the sort of hat that looks charming even when it's a little imperfect, which is exactly why I hand it to crocheters who still flinch at the thought of making something wearable.
What you need
- Worsted weight (#4) yarn: green (main) and cream (cuff and pom-pom)
- 5.0mm (US H/8) hook
- Stitch marker
- Pom-pom maker or cardboard
- Yarn needle
Crown
Steps
- Magic ring, 6 sc. (6 sts)
- Increase 6 sts every round for 7–8 rounds (adult) or 5–6 rounds (child), until the circle matches the head circumference.
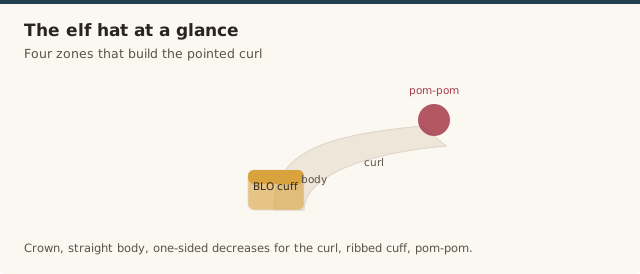
Body and point
Steps
- Work straight rounds of sc or hdc until the hat measures 9–10 inches (adult) or 6 inches (child) from the crown.
- Shape the point by decreasing along roughly a third of the round at one side for several rounds in a row, the same way as the Santa hat, until the tip is long and curled rather than straight up.
Cuff and pom-pom
Steps
- Join cream yarn at the bottom edge and work 4–5 rounds of hdc in the back loop for a ribbed cuff.
- Fold the cuff up to the outside.
- Attach a small pom-pom to the tip of the point.
A seasonal hat walkthrough, useful for seeing how the pointed crown and brim are worked.
Sizing up or down
The only real number you need is the wearer's head circumference, taken where the hat brim will sit. Work the increase rounds — adding six stitches each round from the magic ring — until the flat circle is about 14–15 inches across for a small child, 17–18 inches for an older child, or roughly 19–20 inches for an adult, then stop increasing and work even. As a rough guide, an adult crown lands around 42–46 stitches in worsted weight on a 5.0mm hook, while a child's lands around 36–40. The straight body is more forgiving than the crown: 9–10 inches from crown to cuff for an adult, 6–7 for a child. Always try the crown on before you commit to the straight rounds — a hat that's slightly roomy is always better than one that grips. If your numbers land a little off, our guide to fixing project size walks through rescuing a hat that came out too big or too small.
Yarn and colour choice
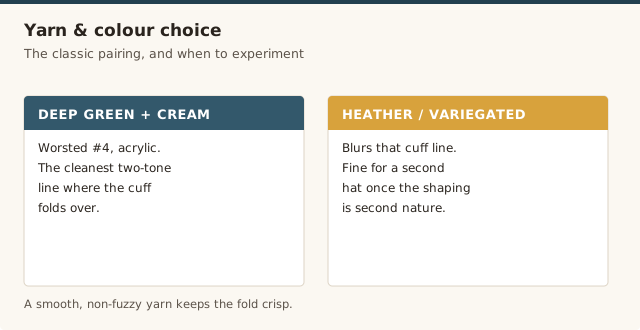
For the classic look, a deep green worsted (#4) against a cream cuff gives the cleanest contrast, because a smooth, non-fuzzy yarn keeps the two-tone line crisp exactly where the cuff folds over. A heather or variegated green blurs that line, so save it for a second hat once the shaping is second nature. Acrylic is my default here — it's light enough that a long curled point doesn't drag, and it springs back after being squashed in a coat pocket. Cotton works too and produces a crisper, more sculptural point, but it stretches under its own weight, so keep the point a little shorter if you go that route. Not sure how your yarn's weight changes the fabric? Our yarn weight explained guide maps it out, and the hook size chart helps you match the hook to whatever you pick. Whatever you choose, buy one extra ball of the main colour — that long point uses more yarn than it looks like it will.
Keeping the point curled
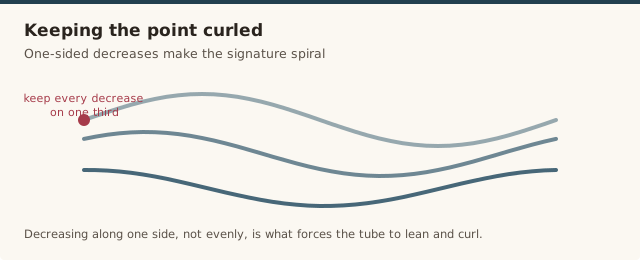
The signature curl comes from decreasing along one side of the round rather than evenly around it, which forces the tube to lean and eventually spiral as it narrows. The further you go, the tighter the curl — stop at 8–10 rounds past the body for a soft arc, or keep going to 12 or more for a tight corkscrew. If your point insists on standing straight, you've probably been decreasing evenly instead of along a single third; mark that side with a stitch marker and keep every decrease on it. To set the curl permanently, steam the finished point lightly and pin it into a spiral while it cools — the how to block crochet guide shows the technique — then leave it alone and it will remember the shape. A pom-pom at the tip adds weight, so make it small and soft rather than dense if you want the curl to stay lifted.
Common mistakes & fixes
Fix: you're decreasing evenly around the round rather than along one side. Keep every decrease on the same third of the round for several rounds in a row, and the tube will begin to lean and curl on its own.
Fix: the crown increases are off. Ruffling means too many increases too quickly; cupping means too few. Count back over the last two rounds — you should be adding exactly six stitches per round — and rip back to where the circle still lay flat.
Fix: the crown was sized before it was checked against the head. Try the flat circle on the wearer before the straight rounds — if it doesn't sit just past the ears, add or remove one increase round rather than hoping the body will fix it.
Fix: the back-loop hdc ribbing was worked too loosely, or over too many rounds. Work the cuff one hook size smaller, or stop at 4 rounds instead of 5, and the rib will grip the bottom edge instead of sliding down it.
Fix: a dense or overstuffed pom-pom is weighing the point down. Swap it for a smaller, softer pom-pom, or anchor a jingle bell instead, which is light enough to let the curl hold its lift.
Fix: the colour change happened mid-stitch, leaving a speckled row. Finish the last green stitch fully, then join the cream with a clean slip stitch, and carry the old end up the inside of the cuff so it's covered rather than poking through.
Frequently asked questions
How is this different from the Santa hat pattern?
The shaping method is identical; only the color placement and point length differ — the elf hat point is usually made a bit longer and more curled.
Can I add jingle bells?
Yes — stitch a small jingle bell to the tip alongside or instead of the pom-pom for extra holiday character.
What size fits most adults?
A crown circle of about 42–46 stitches in worsted weight with a 5.0mm hook fits most average adult heads; try the crown on before continuing if you can.
Can I make adult and child sizes from the same pattern?
Yes — work more increase rounds for an adult crown and fewer for a child, then try it on as you go to check the fit before moving to the straight rounds.
How long should the point be?
For a classic elf look, keep decreasing until the tip curls naturally, usually 8–12 rounds beyond the body; stop earlier for a stiffer, shorter point.
How many balls of yarn does one hat use?
One ball of green and one of cream is usually plenty for an adult hat, though a very long point or a generously sized pom-pom can push you into a second ball of the main colour. For children's sizes, a single ball of each often makes two hats.
CrochetGuides is a participant in the Amazon Services LLC Associates Program. As an Amazon Associate we earn from qualifying purchases, at no extra cost to you.