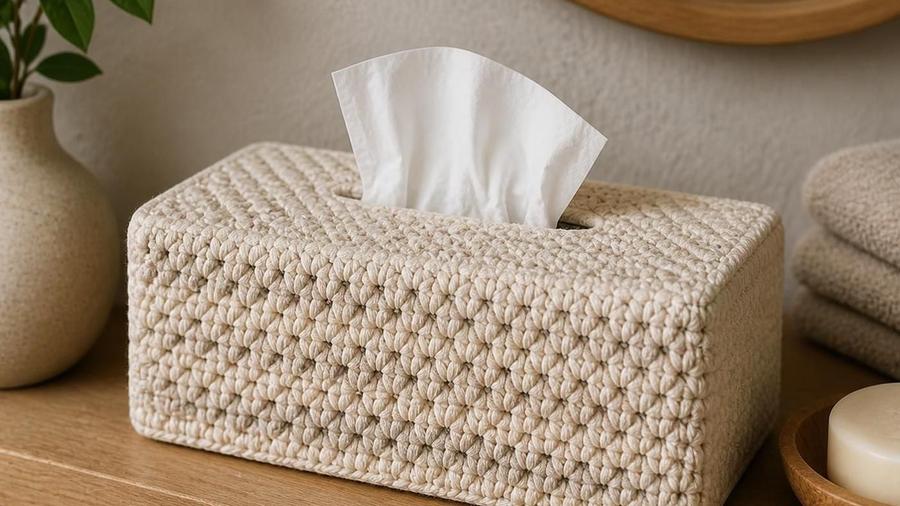
A rectangular tissue box cover worked as a continuous side tube with a separate top panel, sized to fit a standard box.
Updated 2026 · US terms · Fits a standard 9x5x4in tissue box
My first tissue box cover fit beautifully the day I made it and looked noticeably saggy about two weeks later, once the tissue box inside had emptied out from full to half. It turns out a soft acrylic cover relies more than you'd think on the box underneath for its shape, and once that internal support diminishes, the yarn's own structure has to do the job alone. A firmer cotton yarn handles that transition far better, holding its boxy shape with or without a full box propping it up from inside.
This pattern covers the continuous-tube side construction, the separate top panel with its pull-through opening, and specifically the yarn and structural choices that keep the finished cover looking crisp rather than saggy as the box empties over its useful life.
A tissue box cover is a small, useful project precisely because it hides an object that's otherwise purely functional and rarely attractive on its own. A well-made cover turns a bathroom counter or bedside table's least decorative item into something that actually fits the room's look, which is worth the modest yarn investment for how much visual difference it makes in a small, frequently-seen spot in the home.
Measure your actual tissue box before starting; box dimensions vary between brands.
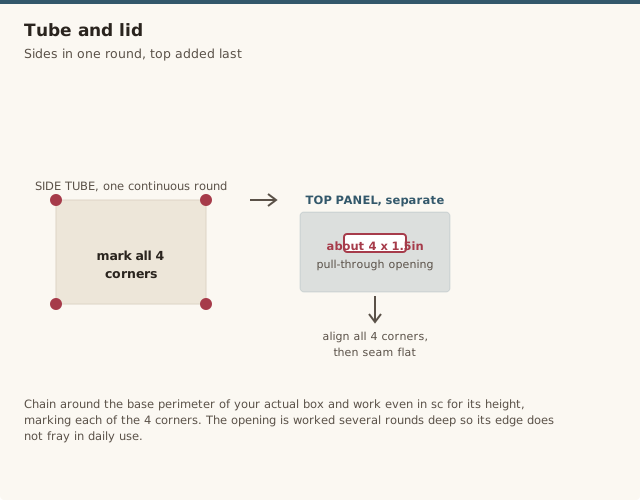
The 4 side panels are worked as one continuous tube; the top is a separate panel attached last.
Corner shaping matters for a crisp, boxy look rather than rounded edges.
Pattern
Base and sides (continuous tube)
Chain around the box's base perimeter (measure your actual box: typically 2 long sides + 2 short sides). Join to work in the round. Work even in sc for the box's height, marking each of the 4 corners with a stitch marker to keep them sharp and consistent throughout.
Corner reinforcement (optional, for crisper corners)
At each marked corner stitch, work an extra sc or a back-post stitch to slightly reinforce that point, helping the corner hold a defined 90-degree angle rather than softening into a curve over time.
Top panel
Work a separate rectangular panel matching the box's top dimensions. Partway through, work an opening: skip a section of stitches roughly 4x1.5in (measure your actual box's pull-through slot) and chain across the gap, continuing the round or row on the far side. Work several rounds around this opening for a finished, non-fraying edge that holds up well to daily use.
Assembly
Pin the top panel to the top edge of the side tube, aligning all 4 corners first before sewing any side. Sew around the entire perimeter using a flat seam (see our seaming guide). Weave in all ends and fit the finished cover over the box to confirm everything sits correctly.
Getting crisp corners
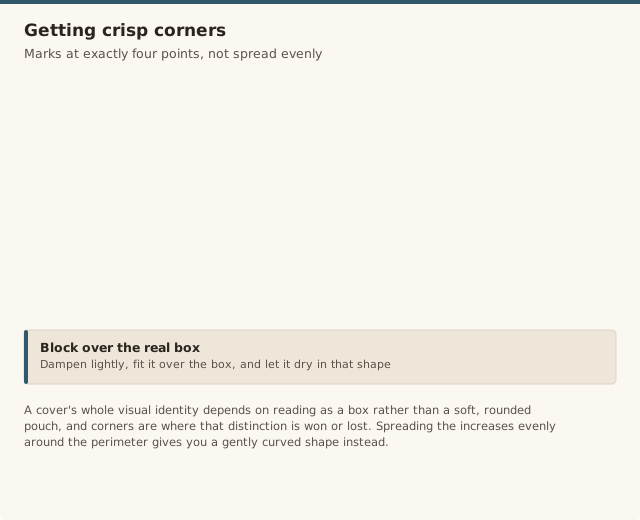
A tissue box cover's whole visual identity depends on reading as a box rather than a soft, rounded pouch, and corners are where that distinction is won or lost. Work the increases (if shaping a base separately) at exactly the 4 marked corner points rather than spreading them evenly around the perimeter, which produces a gently curved shape instead of a sharp rectangular one. Keeping a stitch marker at each corner throughout the side panel's construction, moving it up every round, makes it easy to confirm the corners are landing in the same 4 spots row after row rather than drifting gradually out of alignment.
Blocking the finished piece over the actual tissue box (or a similarly-sized rectangular form) helps set sharp corners even if the crochet itself came out slightly soft. Dampen the piece lightly, fit it over the box, and let it dry in that shape before removing, which trains the fabric into the box's actual angles.
Consistent tension across all 4 side panels matters more here than in most projects, since any panel worked noticeably looser or tighter than the others will show clearly once all 4 sides are visible together on a rectangular form. Work all 4 sides in one sitting where possible, rather than spreading the project across several separate sessions with days in between, since tension is more likely to drift over a longer break than within a single continuous working session, and any mismatch is immediately visible on a finished box shape.
Keeping the shape as the box empties
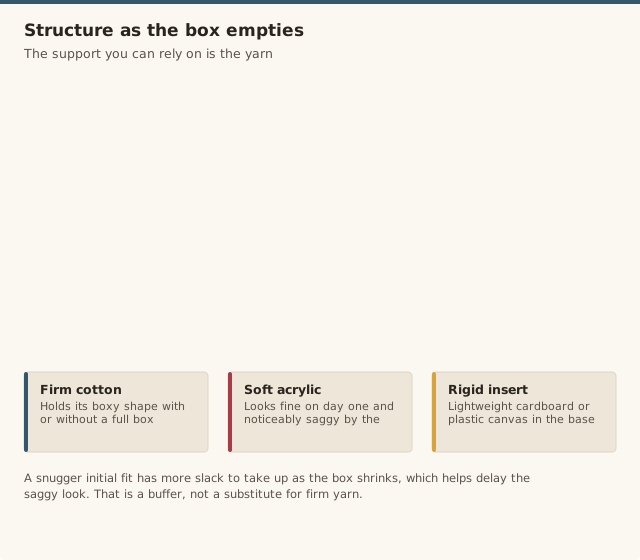
A full tissue box provides real structural support to a cover sitting over it, support that gradually disappears as tissues are used and the box empties. A cover made from a firm cotton yarn holds its own shape independent of that internal support; a cover made from soft acrylic increasingly relies on it, which is why an acrylic cover often looks fine on day one and noticeably saggy by the time the box is half empty.
For maximum structure regardless of yarn choice, a piece of lightweight cardboard or plastic canvas cut to fit inside the base panel adds a rigid foundation the crochet itself doesn't have to provide alone. This is a simple, low-cost addition worth considering if the cover will sit somewhere it's frequently bumped or moved, like a car or a well-trafficked bathroom counter.
If you'd rather avoid adding a rigid insert at all, sizing the cover to fit somewhat snugly against a fresh, full box, rather than loosely, also helps delay the saggy look, since a snugger initial fit has more slack to take up as the box gradually shrinks before the cover itself visibly loosens. This isn't a substitute for firm yarn, but it's a small additional buffer worth building in.
Styling and stitch variations
The plain single crochet construction above is deliberately simple so the sizing and structure principles stay easy to follow, but the side panels take well to almost any firm stitch pattern once the basic shape is understood. A simple textured stitch, like back-loop-only rows for a ribbed look or a basic shell border near the base, adds visual interest without changing the fundamental tube-and-lid construction at all.
A contrast-color top panel, or a contrast border worked around the pull-through opening, is an easy way to add a decorative touch that also happens to be practical: a distinct color around the opening makes it easier to locate at a glance, which matters more than it might seem for something meant to sit in a bathroom or bedside spot and get used without much conscious thought.
If you're making a set for multiple rooms, keeping the base construction and stitch pattern identical while varying only the color between covers makes the batch production genuinely efficient, since the sizing and shaping decisions only need to be worked out once and then repeated. This is also a good use for smaller leftover amounts of a firm cotton yarn from other projects, since each cover only needs a modest total yardage.
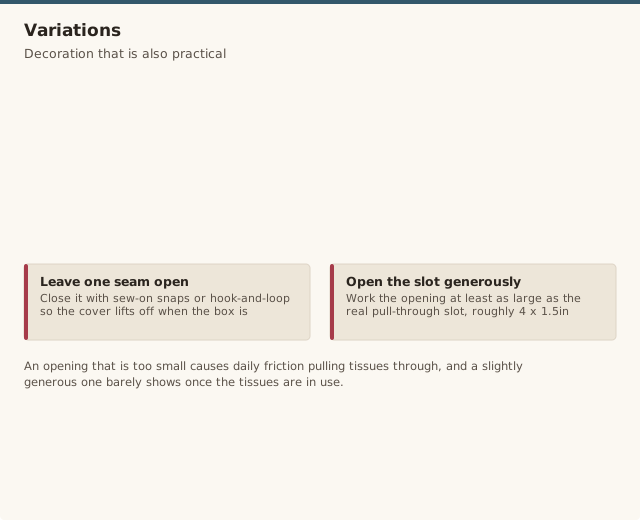
A removable cover, rather than one permanently seamed shut around the box, is worth keeping in mind as a design goal even though the pattern above doesn't specify it explicitly. Leaving one short seam unsewn along the base, closed instead with a few sew-on snaps or a short length of hook-and-loop tape, lets the same cover be lifted off and reused when the box underneath is finally empty and needs replacing, rather than being cut open or discarded along with it. This small change costs almost nothing in extra effort but noticeably extends how many boxes a single crocheted cover can serve over its lifetime.
Shape and fit mistakes
Mistake: the cover is too tight to fit over the box.
Fix: measure the actual tissue box before starting, since box sizes genuinely vary, and adjust the panel width/height to match rather than assuming "standard size."
Mistake: the top opening is too small and tissues won't pull through smoothly.
Fix: work the opening at least as large as specified, a tight opening causes more daily annoyance than a slightly loose one.
Mistake: the cover sags and loses its boxy shape as the tissue box empties.
Fix: use a firmer cotton yarn rather than acrylic, and consider a lightweight cardboard or plastic-canvas insert in the base panel for extra structure.
Mistake: the corners look rounded and sloppy instead of crisp.
Fix: work the increases at exactly the marked corner stitches rather than spreading them evenly around the round, which is what creates a sharp 90-degree turn.
Mistake: the top panel doesn't line up with the side panels when seaming.
Fix: pin all 4 corners of the top panel to the side panels before sewing any of it, checking alignment on every side first.
Our pick for structure
Yarn
Lion Brand 24/7 Cotton
A firm worsted-weight cotton with good stitch definition and enough body to hold a boxy shape independent of the tissue box inside, making it a reliable choice for this pattern's structural needs.
The standard rectangular tissue box, roughly 9x5x4in, is what this pattern's default measurements target, but box sizes genuinely vary between brands, so measuring your actual box before starting is worth doing rather than assuming a universal standard size.
How do I adjust it for a square box instead of rectangular?
Work all 4 side panels to the same width rather than alternating two different widths, and size the top panel's opening as a proportional square rather than an oval or rectangle. The overall construction method stays identical.
What's the best yarn for a cover that holds its shape over time?
A firmer worsted-weight cotton or cotton-blend holds a boxy shape far better than acrylic, which tends to relax and sag, especially as the tissue box inside empties and stops providing internal support.
How do I size the top opening correctly?
Work the opening at least as large as the actual tissue pull-through slot on a real tissue box, roughly 4x1.5in, rather than guessing smaller for a neater look. An opening that's too small causes daily friction pulling tissues through; a slightly generous opening barely shows once tissues are in use.
Can this be made to match a home-decor set?
Yes, using the same yarn color and weight as our coasters pattern, market bag pattern, or pillow cover pattern ties a small group of pieces together into a coordinated set without needing to match every stitch pattern exactly across each piece.
What are the washing instructions?
Hand wash in cool water and lay flat to dry, unless using a machine-washable cotton blend labeled otherwise. Remove any cardboard or plastic-canvas insert before washing if one was added for extra structure, and reinsert it once the piece is fully dry.
Nora has been teaching crochet for 12 years, from absolute beginners to people coming back to the craft after decades away. She started CrochetGuides to write the clear, honest instructions she wishes she'd had when she was learning — the ones that actually work the first time.
CrochetGuides is a participant in the Amazon Services LLC Associates Program. As an Amazon Associate we earn from qualifying purchases, at no extra cost to you.