Free Crochet Ripple Blanket Pattern for Beginners
A classic wave-stitch throw built from repeated peaks and valleys, ideal for using up leftover yarn in stripes.
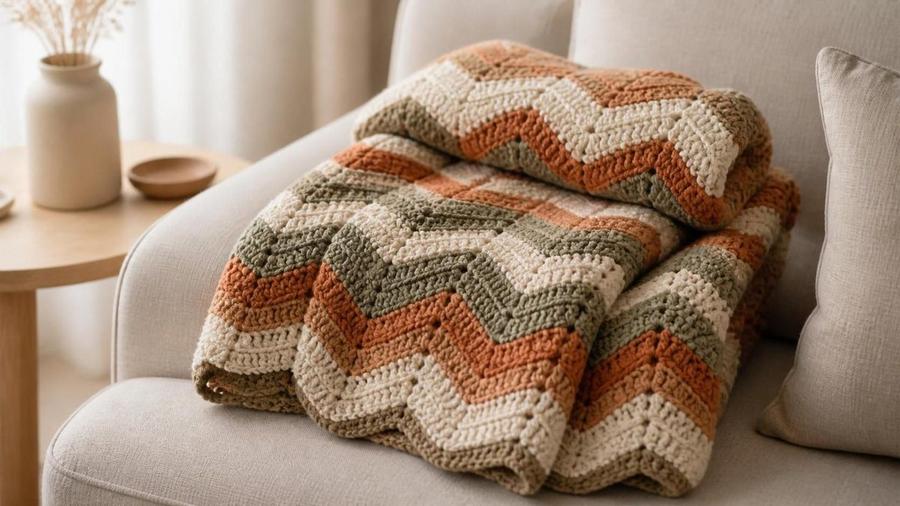
The ripple blanket is the first pattern I made where I finally felt like I understood how a blanket comes together, because the whole thing is one repeated rhythm: up to the peak, down into the valley, over and over. In my classes I watch beginners count out loud through the first few rows, and that's exactly right, because the mistake I see most often is the peak drifting one stitch sideways with each row until the waves flatten into a wobbly stripe. Once a student learns to spot where the three-stitch peak and the decrease belong, this crochet ripple blanket pattern practically makes itself. I've made three now, each striped from leftover yarn, and every one has been a gift someone still uses.
What I love about ripple is that it's deceptively simple: one row, repeated for a whole blanket. There's no chart to follow once you can read the wave, just a rhythm your hands settle into. That repetition makes it both the perfect first blanket and a genuinely mindless project for experienced hands — you can watch a film and still know, from the shape of the stitches under your fingers, whether you're climbing into a peak or dropping into a valley.
Materials
- Worsted-weight yarn, roughly 1,200–1,500 yards total (one colour or striped)
- 5.5mm (US size I) crochet hook
- Scissors
- Yarn needle, for weaving in ends
Abbreviations (US terms)
| Abbr. | Means |
|---|---|
| ch | Chain |
| dc | Double crochet |
| st(s) | Stitch(es) |
| dec | Dc 2 sts together (decrease) |
See our abbreviations glossary for the full list including UK terms.
Gauge
12 dc and 8 rows measures about 4in / 10cm square with a 5.5mm hook and worsted yarn. This blanket is forgiving on exact size; adjust the starting chain length in multiples of 18 to make it wider or narrower.
Notes
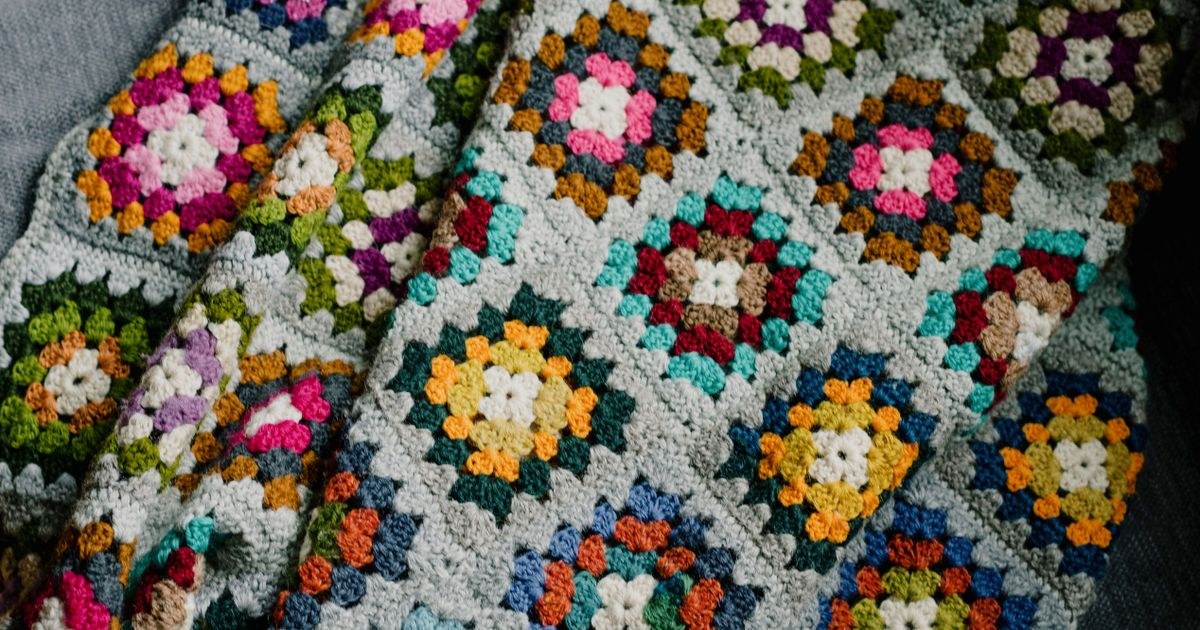
- Written in US terms, worked flat in rows using the same double crochet stitch as our granny square tutorial.
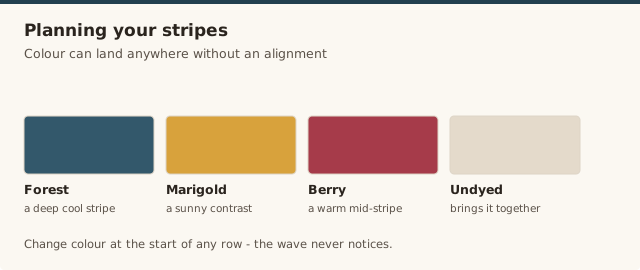
- Change yarn colour at the start of any row for a striped ripple effect — a popular way to use up leftover yarn.
- This pattern's repeat is 18 stitches; the starting chain below makes a lap-sized throw with 4 full repeats across.
Pattern
Chain 74 (4 pattern repeats of 18, plus 2 extra for the edge).
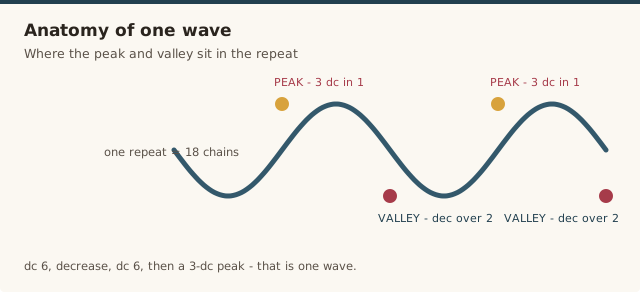
Dc in the 3rd chain from hook. Dc in next 6 chains. Dec over next 2 chains. Dc in next 6 chains. [3 dc in next chain] (this forms the peak point). Repeat the sequence dc 6, dec, dc 6, 3-dc-in-1 across the row, ending with dc in the last 7 chains. Turn.
Ch 3 (counts as first dc), skip first st. Dc in next 6 sts. Dec over next 2 sts. Dc in next 6 sts. [3 dc in next st] at each peak point. Repeat this sequence across the row, ending with dc in the last 7 sts. Turn.
Repeat this row until the blanket reaches your desired length, roughly 48in / 122cm for a lap throw.
Fasten off and weave in all ends with a yarn needle, including any colour-change joins if you striped the blanket.
A demonstration of the ripple stitch worked into a blanket, useful for seeing the peak-and-valley increase/decrease pattern.
Planning yarn & colour stripes
Ripple is the most forgiving stripe project there is, because the colour change can land at any row without disturbing the wave. That's why it's my go-to for using up a bag of oddballs — there's no alignment to match, so every leftover earns its keep. When I plan a striped blanket, I lay the balls out in the order I'll use them and change colour at the start of a row, always working the last stitch of the old colour through the new colour so the join sits cleanly at the edge. For a calmer look, keep to a two- or three-colour rotation; for a scrappy one, throw in everything and let the waves carry it. Our yarn weight guide will help you make sure mismatched oddballs still behave as one fabric.
Sizing the blanket up or down
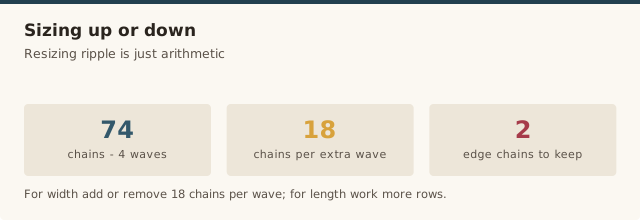
Every full wave in this pattern takes 18 chains, plus 2 extra for the edge, so resizing is just arithmetic. The lap throw below starts with 74 chains for four repeats; add or remove 18 chains per wave to go wider or narrower, and keep the two edge chains. For length, simply work more or fewer rows — the wave runs top to bottom, so the width stays fixed while the length grows. If you've ever ended a blanket wider at one end than the other, our guide to fixing project size explains the drift and how to catch it before it compounds.
Blocking & caring for the blanket
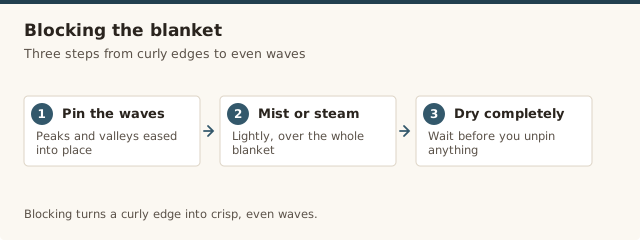
Ripple blankets block beautifully, and the process turns a slightly curly edge into crisp, even waves. Pin the finished blanket out with the peaks and valleys eased into place, mist or steam it lightly, and let it dry completely before unpinning — our blocking guide walks through the full method. For washing, check the yarn label first; most acrylics and cottons machine-wash on a gentle cycle and dry flat. Lay the blanket flat to dry rather than hanging it, so the weight doesn't drag the waves out of shape. A ripple that's been properly blocked will hold its chevrons for years of washing.
Cotton worsted-weight yarn, 3-pack
Order several packs in coordinating colours for a classic striped ripple look.
View on Amazon →Common mistakes & fixes
Frequently asked questions
What causes the wave shape in a ripple crochet blanket?
The wave comes from alternating increases and decreases across each row, worked at set points rather than evenly, which pushes some sections up into peaks and pulls others down into valleys.
How much yarn do I need for a ripple blanket?
A lap-sized ripple throw uses roughly 1,200 to 1,500 yards of worsted-weight yarn, similar to a granny square blanket of the same size.
Is ripple crochet good for using up scrap yarn?
Yes, ripple patterns are a popular way to use up leftover yarn, since colour stripes can change at any row without affecting the wave structure, unlike patterns where colour changes need to align with specific stitches.
Why does my ripple blanket get wider or narrower as I work?
That usually means a peak or decrease is being skipped on some rows, which changes the stitch count over time. Count your stitches each row and make sure the 3-dc peak and the decrease land in the same position on every row.
How many chains do I need to change the width of a ripple blanket?
Add or remove chains in multiples of 18 to add or remove full wave repeats, plus the 2 extra edge chains. So a narrower blanket might start with 38 chains for two repeats, and a wider one 92 for five.
How do I change colours cleanly in a ripple blanket?
Change at the start of a row, and work the final stitch of the old colour through the new colour so the join sits neatly at the edge. Then weave the tails along the matching stripe so they vanish into the wave.
How do I block a ripple blanket?
Pin the blanket out with the peaks and valleys eased into place, mist or steam lightly, and leave it to dry completely before unpinning. Blocking turns a slightly curly edge into crisp, even chevrons.
CrochetGuides is a participant in the Amazon Services LLC Associates Program. As an Amazon Associate we earn from qualifying purchases, at no extra cost to you.